A Detailed Guide in Using the Options Under File Explorer’s View Tab (Part 2)
We have covered the tabs that constitute the ribbon-based options of the File Explorer tool in many of our previous tutorials and we’re now down to the last tab that appears when you’re managing files, folders and different stuff in your computer which is called the “View” tab.
In Part 1, we’ve talked about the the methods in launching the File Explorer tool in both Windows 8 and Windows 8.1 and we’ve also shown where the “View” tab is located and as well as discussed the first group of options that are found on its ribbon but there are still 3 more option groups that you need to learn about so you can start using them to improve your productivity and enhance your user experience as well.
In this tutorial, we will go through the next group of options that is found under the “View” tab but before that, we will first discuss a little bit about the options under the “Panes” option group that we were not able to touch in Part 1 so be sure to have your Windows machine ready and follow the steps that we are going to show below.
How to Edit the Details in the Details Pane
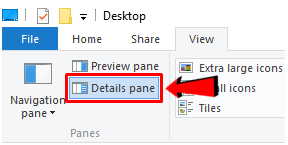
As we have shown in the first part of this tutorial series, it is actually possible to add another pane into the File Explorer Window so instead of having only the “Navigation pane” and the “Contents pane”, you have the choice to add the “Preview pane” and the “Details pane” for additional information on any selected item. Now, if you have activated the “Details pane”, you can actually edit the details that appears for a certain file and doing this is very simple. First, you need to click on the “Details pane” icon that is found on top under the “Panes” group of options as highlighted on the screenshot below.
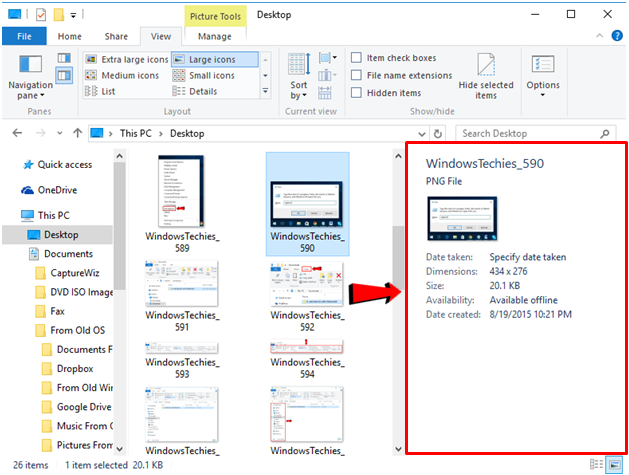
Doing this will activate the Details pane that will appear at the right-hand portion of the File Explorer Window and once you see it, simply browse towards the file that you want to change some details of and you will see its thumbnail and as well as some details of it that will be displayed in the navigation pane as shown below.
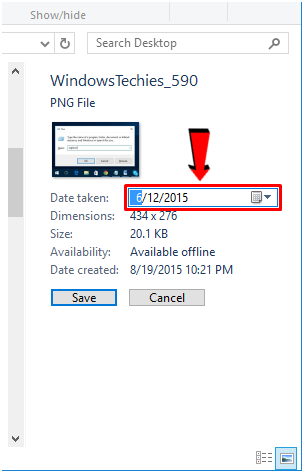
In order to edit the details that appear on the Details pane, all you need to do is click on the specific detail from the pane itself. For images and photos, you can change only the “Date taken” detail and not the others. Once you are done editing this detail, simply hit the “Save” button and you will see that the “Date taken” information will now have the new date that you have entered.
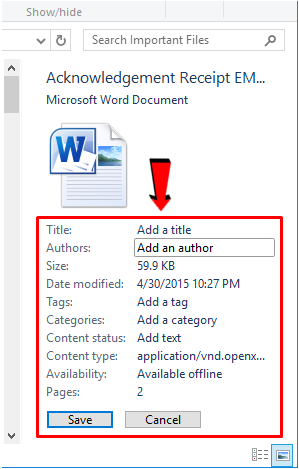
Now, if you want to edit the details of a document, you will notice that there will be more items that you can actually change like the “Title”, “Author”, “Tags”, “Categories”, “Content status”, “Content size”, “Subject” and “Comments”. Once you are done entering the details for each of these items, simply hit the “Save” button and all of the information which you have entered will instantly be displayed on the Details pane.
How to Use the Options Under the Layout Group
Now that we’re done with the “Panes” options group, it is time to proceed on with the next group of options that is found under the “View” tab which is labeled as “Layout”. If you look into the ribbon that is found under the “View” tab, you will see that the “Layout” options take much of the space and this is mainly because there are 8 layout options that you can choose from which will help you have a better view of all the stuff that appears on the “Contents pane” of the File Explorer Window. So let’s go over each on of these layouts and see how the icons on the Contents pane appear when you choose any one of them.
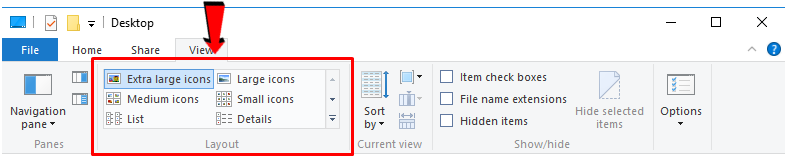
Extra large icons- If you are having problems in viewing small characters and icons on the screen then the “Extra large icons” is the best layout option that you need to select. To see how icons appear in this layout setting, simply select a folder or library in your computer that contains a lot of files in it then click on the “Extra large icons” option. As you can see on the screenshot below, the icons are really big that a file is almost clear even when you view it from the Contents pane alone.

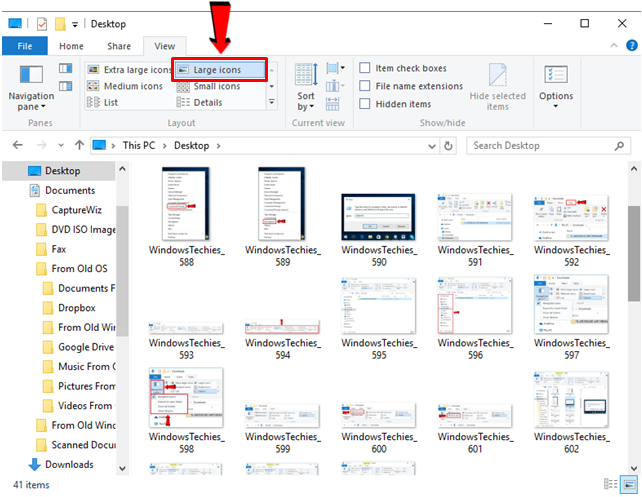
Large icons- If the “Extra large icons” layout option seems too large for you and you want to make the icons on the Contents pane become a little bit smaller then you can choose “Large icons”. When you choose this layout option, the icons will shrink a little bit and look exactly the same as the ones that you see on the screenshot below.
Medium icons- Next, if you feel like the “Extra large icons” layout is space consuming and makes you scroll more when looking for a file from a folder or library that contains a lot of stuff in it but you still want to view thumbnails for each file then the “Medium icons” layout would be the perfect choice. If you choose this layout option, the icons that appear on the Contents pane will look like the ones shown below.

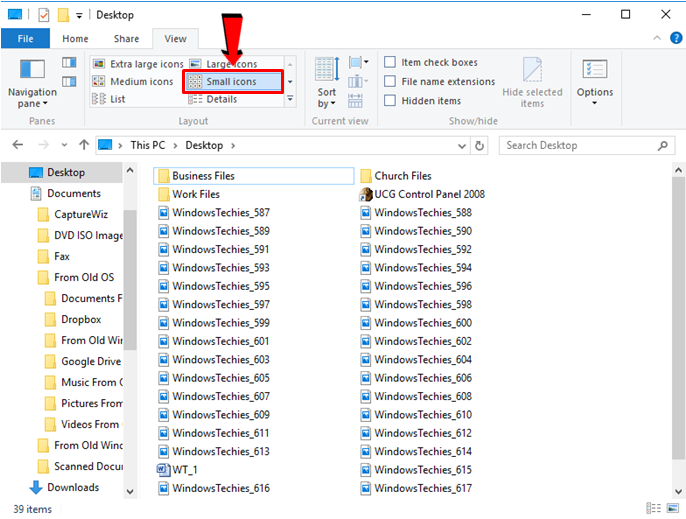
Small icons- Moving on, if you still have a good eyesight and you just want to browse for a file or folder according to its title instead of looking on it thumbnail then you can choose the “Small icons” layout option. When this option is selected, the items that appear on the Contents pane will look like the ones shown below.
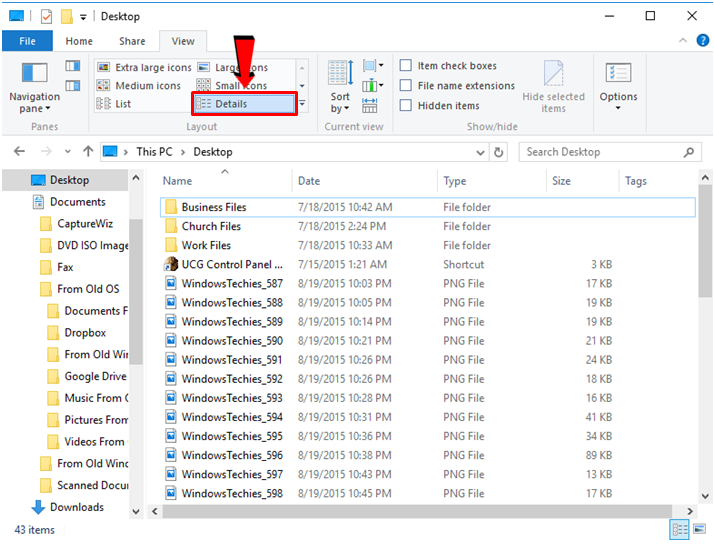
Details- For a more meticulous file search which involves several files with closely similar details then the “Details” layout option would be the best one to choose. If you apply this layout on any folder or library contents, there will be several columns that will appear on the contents pane which include details such as “Name”, “Date”, “Size”, “Type” and “Tags” as shown below.
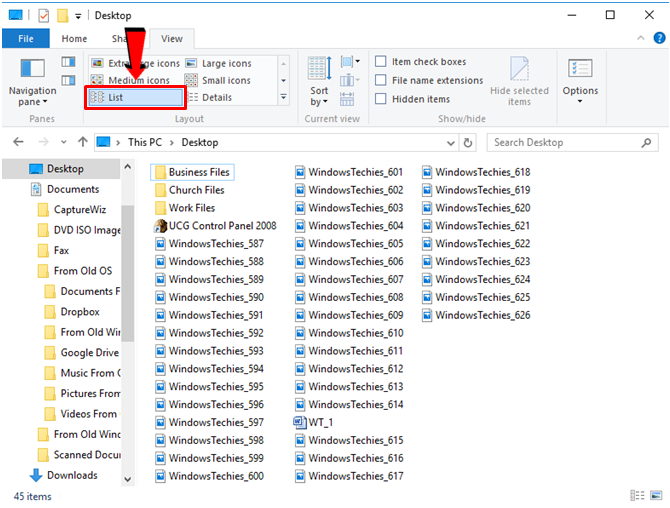
List- Another layout option which displays minimal information that is designed to make scrolling through files a lot easier is the “List” layout. When this option is selected, there will be small icons on the Contents pane with their corresponding file names at the right of each one of them as you can see on the screenshot below. “List” basically looks similar to “Details” only that the other details are not shown on the Contents pane of the File Explorer Window.
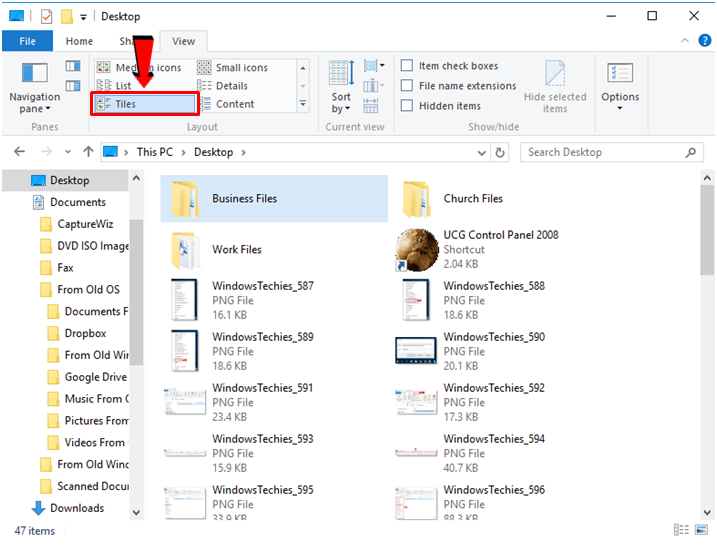
Tiles- If you want the icons for each file on the Contents pane of the File Explorer Window to look relatively larger then the “Tiles” layout option is the one that you need to select. When this option is chosen, the files and folders that appear on the Contents Pane will look like the ones shown on the screenshot below.
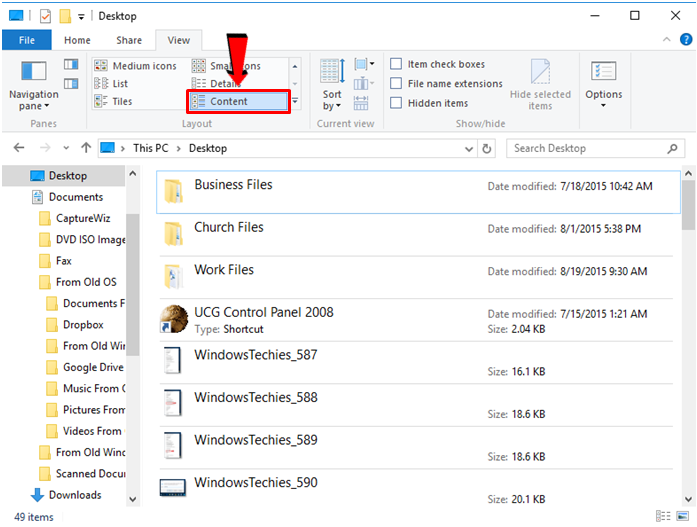
Content- Lastly, you can choose the “Content” layout option if you want to view each file or folder on the Contents pane on a list that spreads from top towards the bottom. In this layout option setting, there are also other details that appear for each item such as “Date modified” and “Size” as you can see on the screenshot below.
As you can see, Microsoft has really made sure that the File Explorer’s Contents pane can cater to any user with specific eyesight problems by providing 8 layout options under the “View” tab and now that you know how one differs from the other, you can simply choose your most comfortable layout option depending on what type of file or what kind of search you are trying to do using File Explorer. In our next tutorial, we will continue with the third and fourth groups of options that are found in the “View” tab so be sure to catch it only here on WindowsTechies.com!