4 Steps in Purchasing Apps or Getting a Free Trial from the Windows Store
In our most recent tutorial, we have taught our readers how to get some free apps from the Windows Store and illustrated the steps in accessing some apps by category if you don’t know yet which app would you really want to install into your computer. We have also explained why it is important to pay attention to an app’s detail screen and read some reviews as well as check out its ratings so you can have an idea of how well the app works when other users installed it. However, there are also some apps in the Windows Store which bear a price tag with them and if in case it is the one that you’re really looking for to install into your Windows 8.1 machine, you’ll need to learn the steps in how you can buy it from its developer. All of these and some other details to learn are what we’re going to learn in this tutorial.
1. Setting up a Verified Payment Method
Before you can purchase an app from the Windows Store, you first need to make sure that you have a credit or a debit card that is linked to your Microsoft account. If you don’t have one yet, just follow the steps that I’ll be showing below so you can start purchasing some awesome apps and have them installed into your Windows 8.1 machine.
First, you will need to open the Windows Store by first accessing the Start Screen. If it is your first time to use your Windows 8.1 machine, you can access the Start Screen on it by simply clicking on the Start Button located at the bottom-left corner of the screen.

Another way of doing it if in case you don’t see the Windows Store tile on the Start Screen is by accessing the Apps view screen which you can simply open by clicking on a round button bearing an arrow down icon inside it that will appear when you move the mouse over the Start Screen.
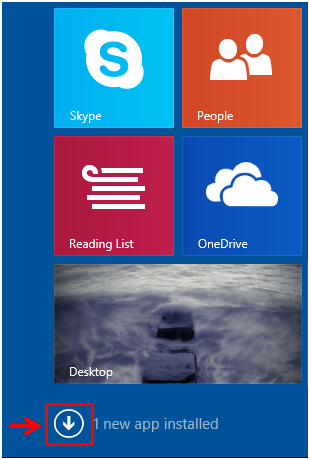
After clicking on the button, you will be taken right away to the Apps view screen and from here, just look for the Windows Store shortcut and click or tap on it once you find it. Lastly, if the Windows 8.1 operating system installed on your computer is updated to the latest version, you should be able to find the Windows Store thumbnail pinned on the taskbar for faster access. Just click or tap on it and Windows Store will open right away.

2. Access Windows Store’s Settings
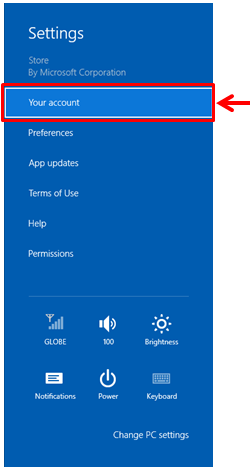
Once the Windows Store screen opens, you will need to access its settings so you can link a payment method to it. There are two ways in doing this, you can either access it by first clicking or tapping on the Settings charm. To summon the charms, just point the mouse to the top or the bottom-right corner of the screen and move it slowly downwards if you pointed it on top or upwards if you pointed it at the bottom. After doing so, you should be able to see a black bar which will appear on the right edge containing five icons. From here, you will need to click on the one at the bottom that is labeled “Settings” and after doing so a screen will appear at the right edge of the screen where you will need to click “Your account”.
Right after you do so, you’ll be able to access the screen where the settings and options for your account can be found and from here, simply click on the button that is labeled “Add payment method”.

After doing so, you’ll see a prompt that will ask you to enter your Microsoft account’s password. Just enter your password on the box provided and hit the “OK” button at the bottom of the prompt.
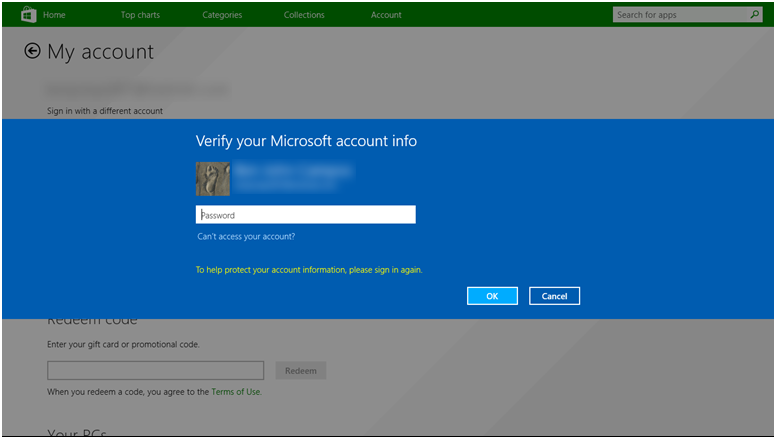
After doing so, you should be able to see your default browser open and bring you to the page where you will need to enter the your password again so you can log in to your Microsoft account. Just follow all of the other steps that the process will tell you to do and enter your card details. Just make sure that there are no errors with the information that you entered so you won’t get into any trouble in setting up your payment account.
3. Trying a Paid App for Free
There are paid apps that are listed in Windows Store’s categories and app groups which offer a free trial so users can have a feel of how the app works before even deciding to buy the app. You will know if an app has a free trial version because it is indicated on its thumbnail’s label as you can see in the two examples of games shown on the screenshot below.

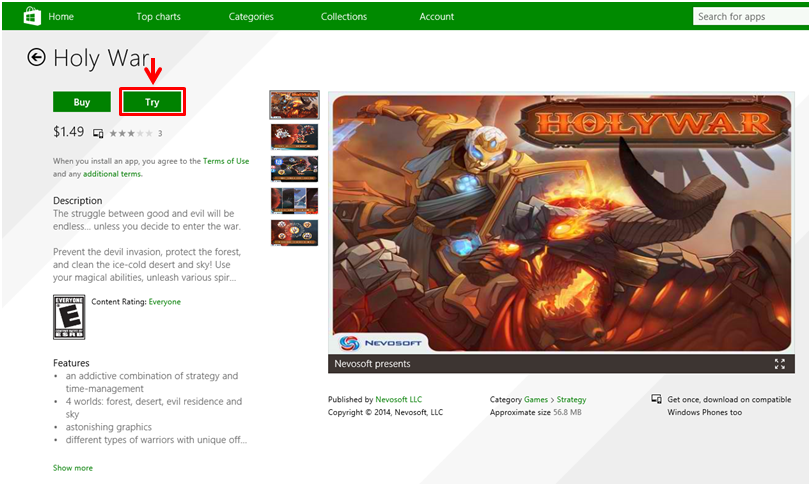
To get a free trial, all you need to do is click on the app’s thumbnail and you will be taken directly to its details page. From here, you should be able to see two buttons sitting side-by-side each other which are labeled “Buy” and “Try”. Just click on the button that says “Try” to initiate the installation process. Take note that free trial versions of apps have a specific number of days before it expires. Once these days are fulfilled, you can choose whether to buy the full version or uninstall the app completely if in case you don’t like it.
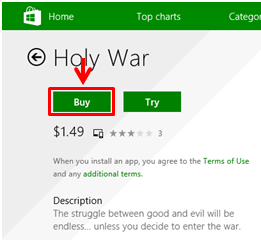
4. Purchasing an App
Finally, we now come to the last step that you would possibly do with paid apps having a free trial and that is purchasing the app. This step is done simply by clicking on the “Buy” button sitting just beside “Try” on the app’s details page. Again, to save you from wasting your time on boring and not-worth-the-price apps, you will need to read some reviews and consider the app’s overall user rating which should give you an idea of how well it really works when other users tried it. If you feel like the reviews are not satisfying, you can also try the app by installing its trial version.
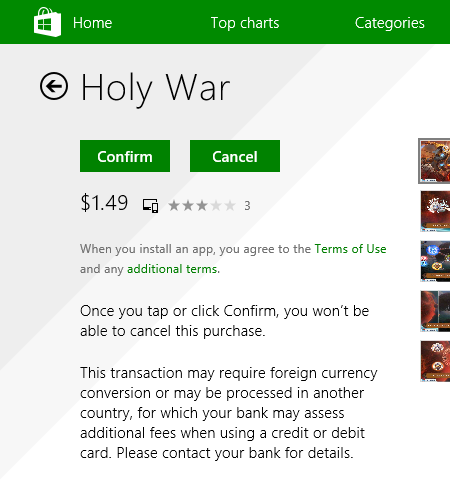
After clicking on the “Buy” button, you will see two more buttons which are labeled “Confirm” and “Cancel”. If you really have decided to purchase the app, simply hit “Confirm” and once you do it, there is no turning back but if you think that you still need to do even more research and read more reviews about it then you can click on the “Cancel” button.
If you click on “Confirm”, you will again see the prompt that will ask you to enter your Microsoft account password. From here, just enter the right password and follow all of the other steps that will appear on the screen. Once you’re done paying the amount for the app’s full version, you should be able to access the button for installing it into your machine and when its done installing, you can start using it or playing with it whenever you like (if it is a game that you have downloaded). Installing a paid app doesn’t have to be intimidating and we hope that the steps we’ve shown here will guide you in purchasing some paid apps that you really want and having them installed into you brand new Windows 8.1 machine!