Creating a Disk Image Using ImgBurn
As we have mentioned in our previous tutorials, DVDs and CDs work well and offer a very efficient storage space for your important files. They are even the storage choice for software and other media that are distributed to users and the best thing about it is that it is very cheap.
This storage media has also made a great difference in terms of available space compared to floppy disks and it has really made revolutionary changes in how we deal with files and many other stuff that are required to be stored in a storage media for safe-keeping.
However, no matter how great DVDs are, they are not immune to any factors that can damage its readability and content integrity. As time passes, DVDs may accumulate moist and many other physical agents that can affect its contents which means that its contents may also be sacrificed and be rendered inaccessible in the long run. This is the reason why you really need to master the steps in creating a backup copy of a DVD’s contents so you can store it in your computer or even copy it to as many DVDs as you want just in case the original one is lost or damaged.
In this tutorial, we will be learning how to backup a DVD by creating an ISO disc image of it using a very popular and easy-to-use software called ImgBurn so be sure to turn on your computer and follow the steps that we’ll be showing below.
Download ImgBurn
ImgBurn is a free software that allows you to create a disc image of a certain DVD. The image created is in “.ISO” format and you can then save it in your computer or even burn it to a blank DVD of the same type as the original one so you can have a backup that you can use in case the original DVD is lost or damaged. To download ImgBurn, you will simply need to visit its developers official website.
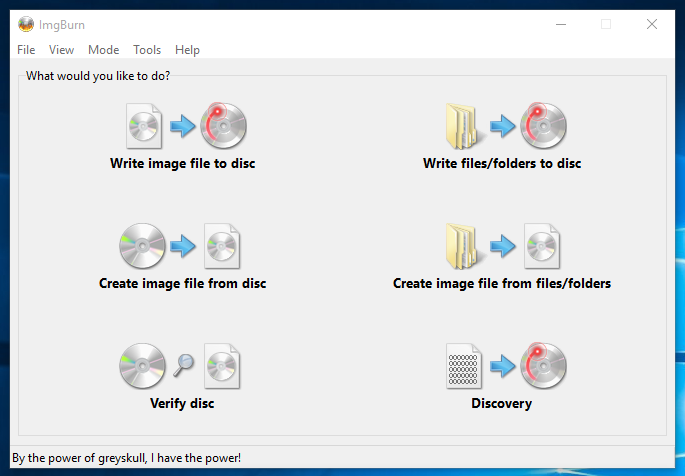
Once the software is installed to your computer, you can open it for the first time and you’ll see how simple its main screen is that will surely be very comfortable and easy-to-use even to novice users.

Aside from its simple interface, advanced users will also love its other advanced features that will offer customization options for the image files as well as the burning tasks that ImgBurn is capable of performing.
Choosing the Disc Image Storage Folder
Before creating backup copies of any DVD that you wish to create an image of, you will first need to choose the location where you’d like to store the images into. By default, ImgBurn stores the disc image that it creates into your computer’s “Documents” library but this setting isn’t permanent. You can tweak it anytime you want and here’s how:
First, you will need to open ImgBurn in your computer and once it opens, put your attention into the tabs that are found on its top-left portion. From these tabs, simply click on the one that says “Tools”.
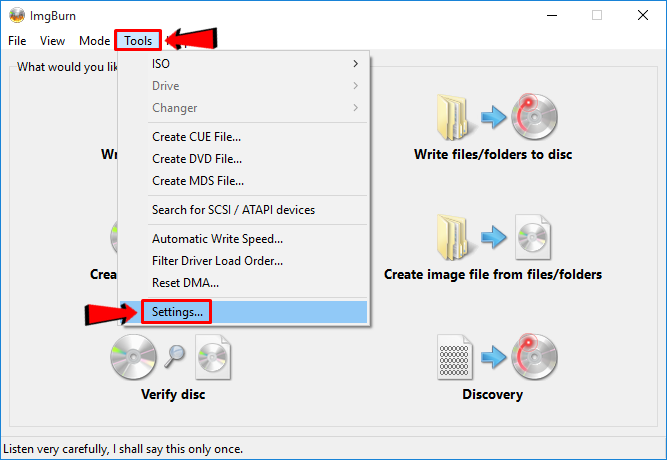
After clicking on the “Tools” tab, you will see a drop-down options box where you will find certain links that will change some aspects of the software but don’t worry, we will not be doing anything with the defaults, what you’ll need to click is the “Settings” link that is found at the bottom of this options box as highlighted on the screenshot above. After you do so, another Window will appear where you will need to click on another tab that is found on top which says “File Locations”.

After clicking the “File Locations” tab, you will be able to view all the locations where the files and other stuff that ImgBurn is able to create are stored by default. From this list of locations, you will need to change the one that is labeled “Image Files” by clicking on the small folder icon that is located at the right of the location input box as highlighted on the screenshot below.

After the icon is clicked, you will be able to open another Window which will now allow you to choose the location where all the disc image files that you have created with ImgBurn will be stored. From this Window, just select the location that you want then hit the “Select Folder” button located at the bottom afterwards.

After doing so, all disc image files will now be stored in the location that you have selected. Now, let’s move on to the process of creating a disc image file using the software.
Creating a Backup Copy of a DVD
Saving a backup copy of a DVD is important especially if it contains some crucial stuff. In this tutorial, we will try to create a disc image of a Windows 7 OS Installer DVD and as we advance, you’ll see how simple it is to use ImgBurn in doing this task. First, you’ll need to insert the disc that you want to create an image of into your computer’s disc drive and once it gets inserted, it is time to start the ImgBurn software.
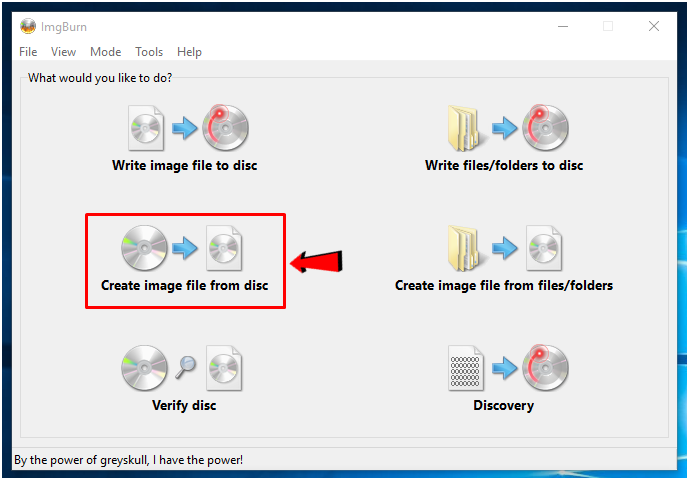
Once ImgBurn opens, all you need to do is click on the “Create image file from disc” option in order to access the screen that shows the details about the disc that you are trying to copy. There’s really not much to tweak within this screen and in fact, novice users won’t really understand the details that are displayed in it so if you’re just trying to create a disc image then go on and click on the button that is highlighted below.
After hitting the button, ImgBurn will then display a bar that shows the overall progress of the copying process. From here, you can choose to tweak what will happen once the process is done like “Eject Tray”, “Close Program” or “Shut Down Computer” and enabling any of them is simply done by clicking inside the small checkbox that is located at the left of each option. After making the tweaks, you just need to wait until the process is done.

Once the disc image creation process is complete, the option that you have selected earlier will then be applied. For instance, if you checked the “Eject Tray” option, your computer’s disc drive will automatically open after ImgBurn is done copying the DVD in it. If you selected “Shut Down Computer”, your machine will simply turn off right after the disc image creation process is done. You will also see a prompt that says “Operation Successfully Completed” on top of the existing ImgBurn Window as shown below where you simply need to click “OK” to close it.

Now, you can browse towards the folder that you have assigned as image files storage and you should be able to find the disc image from there and if you didn’t change the default image files storage then you should be able to find it in the “Documents” folder of your computer. Once you find the image, be sure to save it in a safe place and create enough backup copies of it by burning it to a blank DVD disc using the same software so you can always have a copy of it whenever you need one.