Windows 8: Learning Some Basic Features and Settings
We’ve already learned some features and settings in the past few tutorials that we had and now, we will be delving in to some more stuff that makes Windows 8 a more productive operating system. Some of the improvements made to it is deeply connected to the Start Screen. The built-in Internet Explorer is also faster than ever and there’s an app version of it too. If you want to multitask then snapping from one Window to another is also possible. The tiles on the “Start Screen” are also customizable and they display real time information of what’s going on within it. Switching between apps is also possible and is done easily with simple clicks and gestures. Want to add some apps? With Windows 8, it is possible simply by downloading and installing apps from the Windows Store. Just read on to find out how all these things are done.
The Faster Internet Explorer 10
Most of us would remember using Internet Explorer in previous Windows versions and just end up being told to upgrade it for a better performance. This does not happen in Windows 8. Internet Explorer 10 has a brilliant and fluid performance that works perfectly with Windows 8. If you want to stick with the desktop version then it’s perfectly fine. A shortcut to it is pinned on the taskbar.

You can also find a shortcut to Internet Explorer on the Start Screen. To get to this section, simply press the “Windows Key” and you’ll see Internet Explorer as one of the Start Screen Tiles.

Windows 8’s Internet Explorer 10 also has an app version but the process of setting it up would take another tutorial. There are still more features and settings that you can do with Windows 8’s default browser but we will leave all the details on a separate tutorial. For now, we will be looking at another feature that improves productivity.
Multitasking with the Snap Feature
If you are the busy type and you do a lot of tasks on your computer each day then Windows 8 is a perfect companion. You can have up to two Windows sitting beside each other or even check on your email through the “Mail” app while those two Windows are still open. To snap two Windows beside each other like your favorite browser and a Microsoft Word document, you first need to open both and drag one Window to the left and the other one to the right until the mouse pointer touches the edge of the screen.
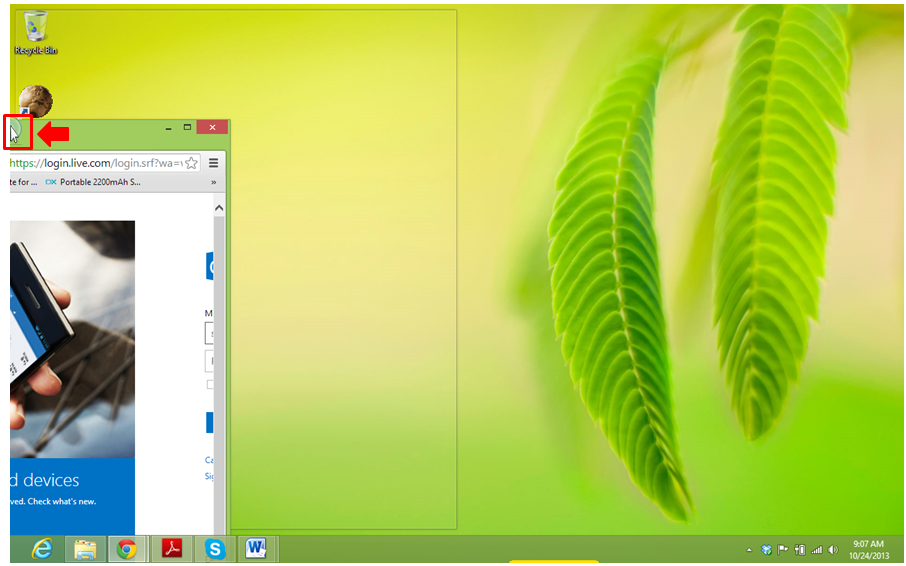
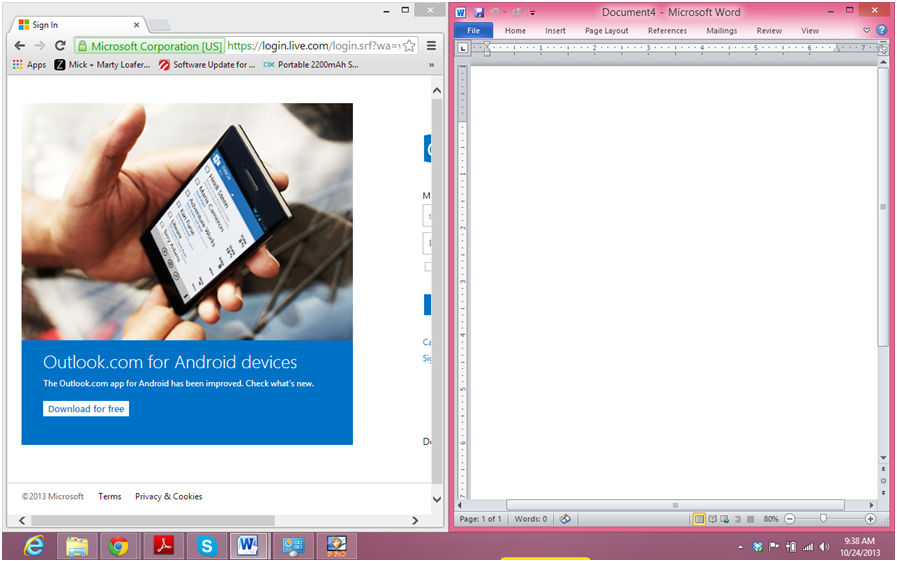
Once the mouse pointer touches the screen, you’ll notice a glass like silhouette would appear and would divide the screen in half as seen on the screenshot above. The same thing will happen when you drag the other Window to the right and after doing so, you’ll be able to have two Windows side-by-side each other as you can see on the screenshot below.
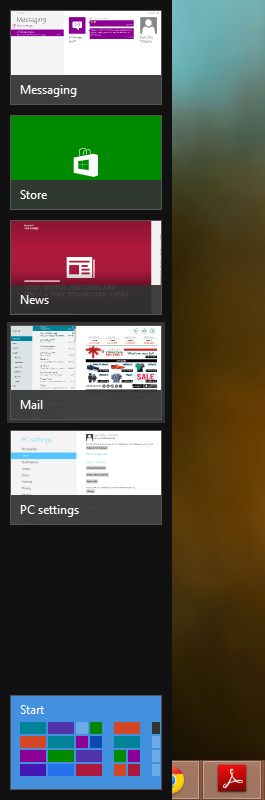
If you already opened the “Mail” app earlier and you want to open it again while these two Windows are active then all you need to do is point the mouse to the top-right corner of the screen and slide it downwards to reveal the recent apps bar. From here, all you need to do is search for the app that you want to open and drag it towards the center.

Once the app is taken from the bar and is now on the desktop screen simply release it and it will now be opened. You can do the same process again if you want to pull up a recently opened app. At the bottom part of the recently opened apps bar, you’ll see a tile that is labeled “Start”. Clicking or tapping on it will open the Start Screen. Switching between apps is also done by pressing “Alt + Tab” keys. After pressing on these keys, you’ll see a screen showing all the Windows and apps you opened.
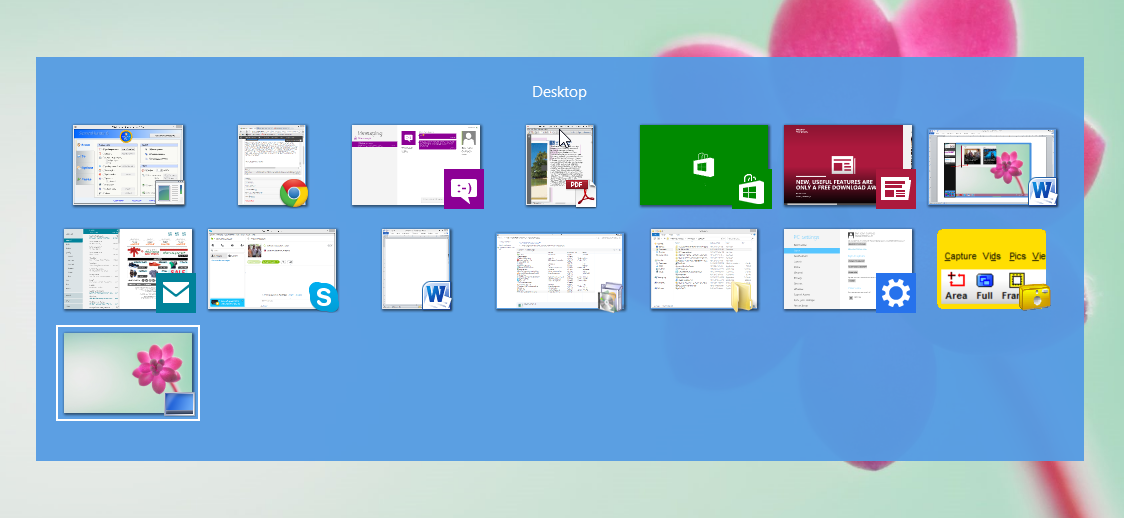
To scroll through these apps and Windows, simply use the arrow keys, remember to hold the “Alt” key while doing this because if you release it, the screen will disappear. If you want to just select an app, you can just use the “Windows + Tab” keys to summon the recently opened apps bar but again, you need to press and hold the “Windows Key” while selecting an app because releasing it will open the app that is first listed on the bar.
Personalizing the Live Tiles
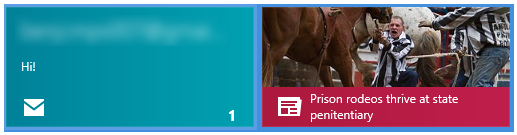
At this point, I assume that you’ve already used the Start Screen and noticed all the squares and rectangles pinned to it which represents every app and program on your Windows 8 computer. These colorful squares and rectangles are called “Tiles”. If you’ve been more observant then you should also have noticed that some of these “Tiles” display real-time information of what’s going on in it. For instance, the “Mail” app tile shows all your latest emails and the “News” tile shows you the latest news.
You can move these tiles wherever you wish on the Start Screen. Simply click or press and hold on the tile that you want to move and drag it to the location where you want it to be and as you have seen on one of our previous tutorials, these tiles and shortcuts that are pinned on the Start Screen can also be grouped together and named accordingly.

Find Apps in the Windows Store
Unlike its predecessors, Windows 8 has a place where you can get some mobile applications especially designed to work on it called the “Windows Store”. It is represented by a Tile on the Start Screen which looks like the image below.

When you open Windows Store, you’ll see that the apps in it are properly categorized to make searching a lot easier for you.
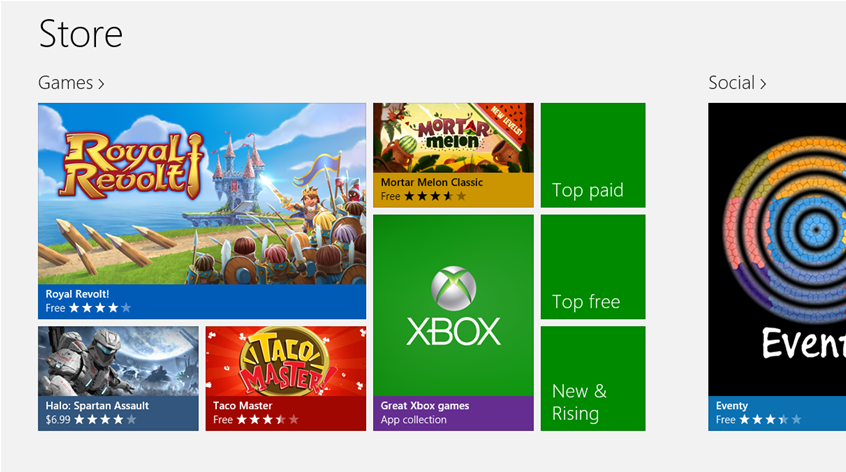
On each category, you’ll see further groupings like “Top paid”, “Top free” and “New & Rising”. These categories groups apps further for easier searching. Installing and uninstalling apps also happens like a breeze but we’ll discuss more of the details on a separate tutorial.
Pin Your Stuff on the Start Screen
Unlike its predecessors, Windows 8 and the new, noticeable feature included with it called the “Start Screen” allows you to pin almost anything aside from just app or program shortcuts. The Start Screen allows folders, files, Control Panel menus, websites, links and many other stuff to be pinned on it. Sounds great right? Well, that’s not everything yet, there are more to the Start Screen feature than what meets the eye and these things will be covered on a separate tutorial.

Share Some Stuff Right Away!
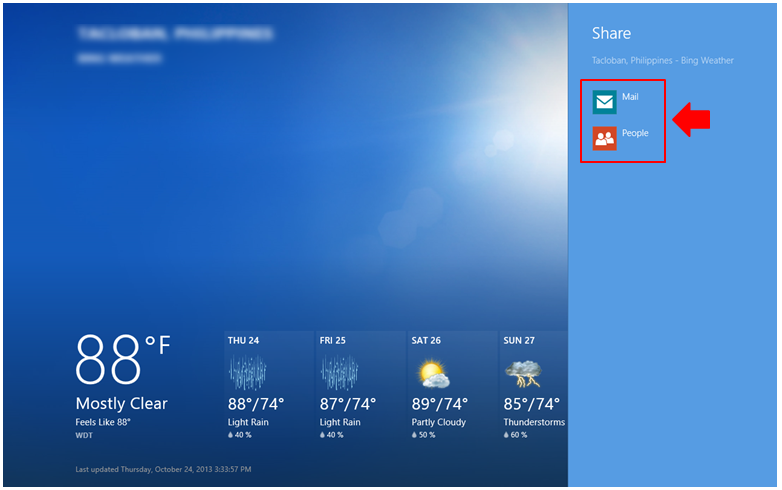
With Windows 8, sharing your stuff is as easy as clicking the “Share” Charm. Microsoft knows how important it is for you to inform and share some stuff to your Facebook friends or contacts quickly and easily so whenever you find something like a hotel promo or find out about a storm that is coming using the “Weather” app, simply pull up the Charms bar by pointing to the top-right corner of the screen and moving the mouse pointer downwards then click on the “Share” charm so you can see the options that are available for you to be able to share what you’ve found out.
Great Features and More Options in One Operating System
As you can see, Windows 8 is not just a colorful operating system but is also a well developed one with all the features and settings that you would need to take your Windows user experience to the next level. Being skeptic is a normal reaction from people who got used to some previous versions of the Windows operating system but once you try using Windows 8 and learn of all the awesome features that it has then you’ll surely love every aspect of it and realize that it is really the best one!