Working with Web Notes in Microsoft Edge
In one of our previous tutorials, we’ve shown some of the newest and most unique features that are found in Windows 10’s mainstay browser called Microsoft Edge. Microsoft has made something revolutionary once again by making not just an ordinary tool that users can use to browse the Internet but even more! Something that can be called a masterpiece which everyone can enjoy at the luxury of their own PCs and laptops! Microsoft Edge boasts fast browsing speeds that has proven to be faster than Google Chrome and the latest version of Mozilla Firefox. It also looks more modern than both previously mentioned browsers combined making it ideal for those who want to try something new. If you are the kind of person who wants to be focused on the stuff that you’re reading from the web then Microsoft Edge would also be your best tool because of its unique feature called the “Reading view” located on the top-right portion of the browser Window itself as shown on the screenshot below. 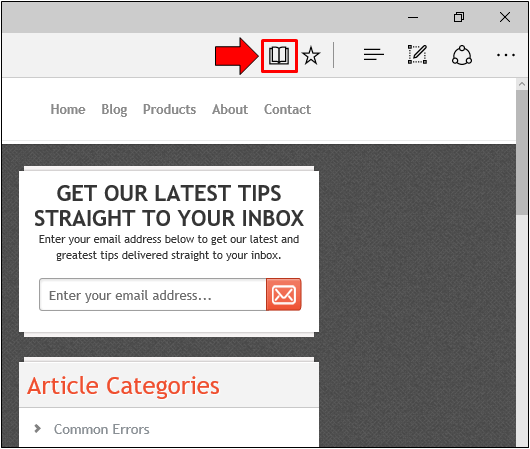 What this feature does is it removes all the other stuff from the web article that you are trying to read. All the advertisements, social media buttons and everything else making only the article itself to stay so you can read without any unnecessary distractions. However, Windows 10’s Microsoft Edge has something else that you won’t find in any other browser. It is called the “Web note” and in case it is your first time to hear about it, you’ll surely be surprised at how it works and what you things you can actually use it for. But how is this feature accessed from Microsoft Edge and how can you use it?
 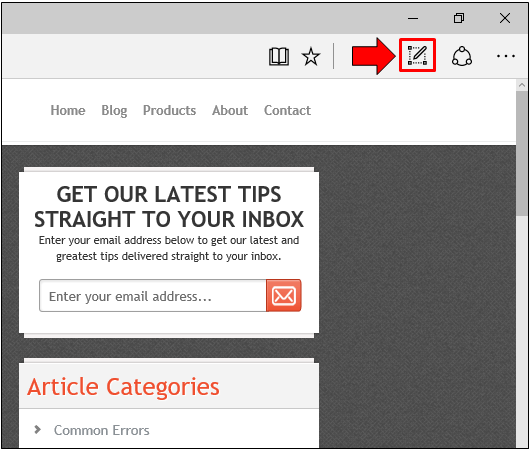 We’ve shown how you can get into this feature in our previous tutorial but in case you missed it, we will be showing it again to save you time from going to another tutorial just to learn the basics. So without further ado, let’s get going and access Microsoft Edge first!
The Old Browser is Hidden Somewhere
Microsoft has finally made a major upgrade with the browser that is found in their latest operating system called Windows 10. Yes! They have phased out the old Internet Explorer and replaced it with a new one which is called Microsoft Edge. However, their phasing out of the former doesn’t meant that it can no longer be found in Windows 10. Internet Explorer can still be found in this latest Windows edition for those who really need it for certain web development and advanced uses which Internet Explorer makes a perfect tool for and before learning how to access Microsoft Edge, let us first see how Internet Explorer is accessed! To start, you need to make sure that your Windows 10 machine is turned on and once it is, you’re all set to follow the steps that are shown below.
Accessing Internet Explorer Quickly
The very first method in how you can access Internet Explorer on Windows 10 is the easiest. To accomplish this, all that you need to do is press the “Windows + S” keys simultaneously in order to pull-up the Search box and once it appears, simply type in “Internet Explorer” on the search input box provided at the bottom of the Search screen as highlighted on the screenshot below. 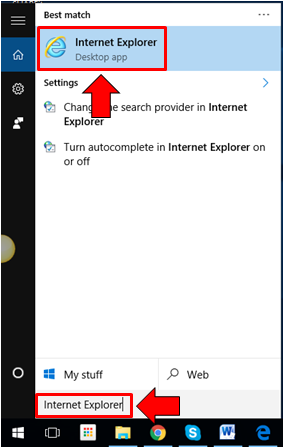 After inputting “Internet Explorer” into the box at the bottom, Windows 10 will automatically look for files, settings, programs and apps that matches your search query and shortcut to “Internet Explorer” should appear as the first one on top of the list. Once you see this shortcut, all that you need to do is click on it and Internet Explorer will open right away!
Another Method
Aside from the easy method in accessing Internet Explorer on Windows 10, there is also another one that is quite harder which you also need to know just in case something happens to your machine and the Search box isn’t working properly. To do this, you will first need to launch the Start Menu simply by clicking on the Start Button or pressing the Windows Key. 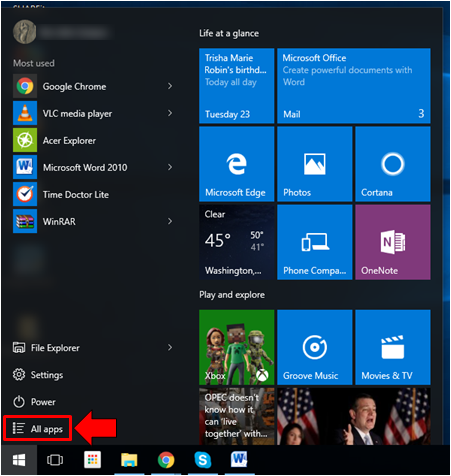 Once the Start Menu opens, you will need to access the list of all the apps and programs that are installed in your Windows 10 computer. To get into this list, you will simply need to click on the “All apps” link that is found at the bottom-left portion of the Start Menu screen as highlighted on the screenshot above. After doing so, you’ll be able to open the list which will appear at the left portion of the Start Menu and all the programs and apps that are installed as well as the built-in ones to Windows 10 will be arranged in alphabetical order as you can see below.
 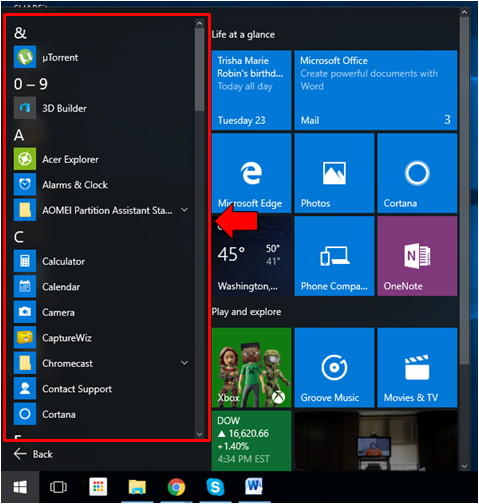 Now, our goal is to find the “Windows Accessories” section so in order to find it, we will need to scroll down towards the “W” section then once you are on it, simply click on “Windows Accessories” in order to expand it then click on the Internet Explorer shortcut that is found in it.
 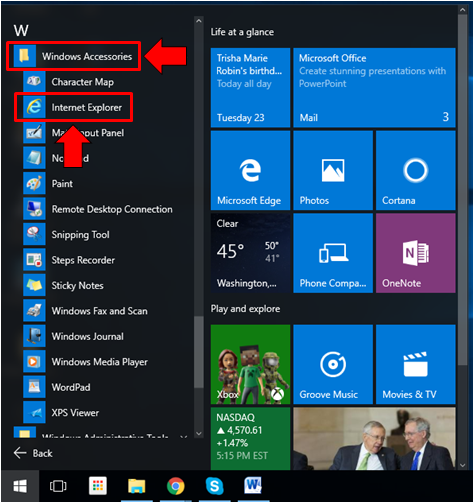 So technically, Windows 10 has 2 browsers that are built-in to it and you can choose which one you’d like to use every time you access the Internet and do some browsing. In our next tutorial, we will be featuring Internet Explorer in Windows 10 and see how we can play with it so it can become the default browser again. In the meantime, let’s go back to the meat of this tutorial which is the “Web note” feature.
Using the Web Note Feature
Now, in order to use Web Note, you will simply need to click on its designated button that is found at the top-right portion of the Microsoft Edge Window. Clicking on it will open a tab that stretches from left to right and on this tab are the “Web note” tools that you can use depending on what you want to do on a certain webpage. But first, you will need to launch Microsoft Edge by clicking on its icon from the Taskbar or the Start Menu. 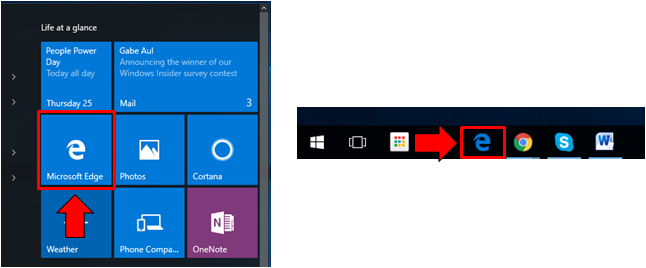 In case the Microsoft Edge icon or tile is nowhere to be found in the above-mentioned locations, you will need to find it in the “All apps” section simply by launching the Start Menu, clicking on the “All apps” link which is located at the bottom-left portion of the screen then once the list of installed as well as built-in programs and apps appears, simply head to the “M” group and click on the “Microsoft Edge” shortcut from there.
 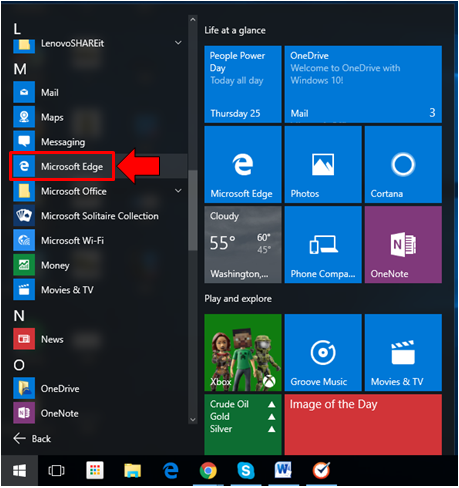 Once Microsoft Edge opens, just click on the “Make a Web Note” button that is found on its top-right portion and that’s it! We can now start doing some wonderful stuff with the webpage that you want to make some notes on!
Marking Some Stuff with the Pen
First off, you will notice at the extreme-left portion of the Microsoft Edge Window that there is an icon which looks like a tip of a pen or marker. If you hover your mouse on it, you will see its name which is actually “Pen“. If you click on it, you will be able to open a box which contains color options and as well as a section where you can choose the size of the mark that the pen will leave on the webpage as shown below. 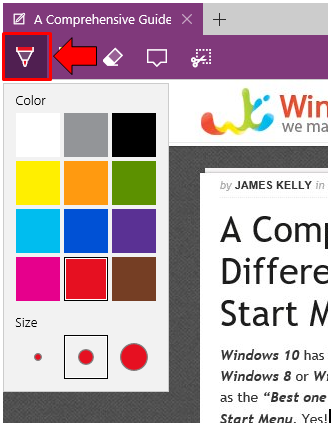 After choosing the color and the size of the pen’s mark, you will then be able to use it, to do so, just head towards the portion, image or words/paragraph that you want to mark and once you are there, simply click-and-hold the left click button and drag the mouse in order to create an underline or encircle the elements that you want to mark.
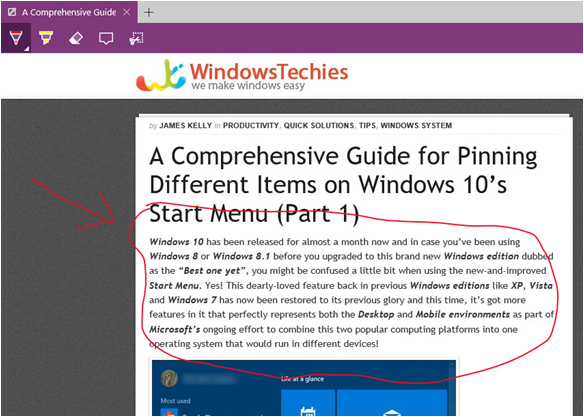
Using the Highlighter
Now, aside from allowing you to mark, underline or encircle certain parts and elements of a webpage, Microsoft Edge also has another feature that allows you to highlight words or phrases and even entire paragraphs if you wish. To do this, you will, simply need to click on the button that is next (to the right) of the “Pen” tool as highlighted on the screenshot below. 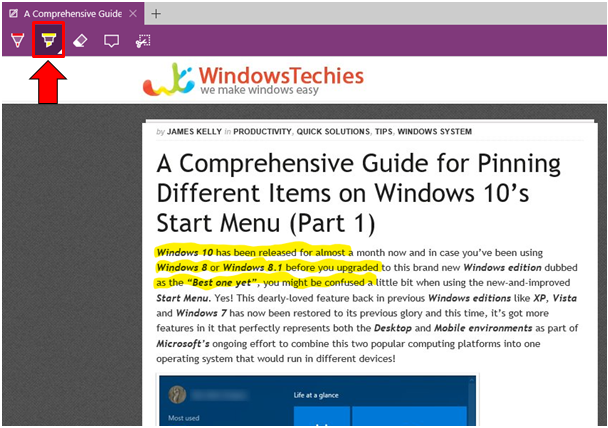 After clicking on the “Highlighter” button, all that you need to do is place the mouse pointer before the word/s or phrase/s that you want to highlight and once you are there, just click-and-hold the left click button then move towards the direction that you want to highlight. Once everything is highlighted, just release the left-click button and voila! You now have a highlighted section on the web page that you have opened.
Deleting the Marks
Now, aside from being able to insert marks with a pen or highlighting certain parts of the webpage using the highlighter, Microsoft Edge also allows you to delete whatever mark has been created. In order to do this, just click on the “Eraser” button that is seated beside (to the right) of the “Highlighter” icon as shown below. 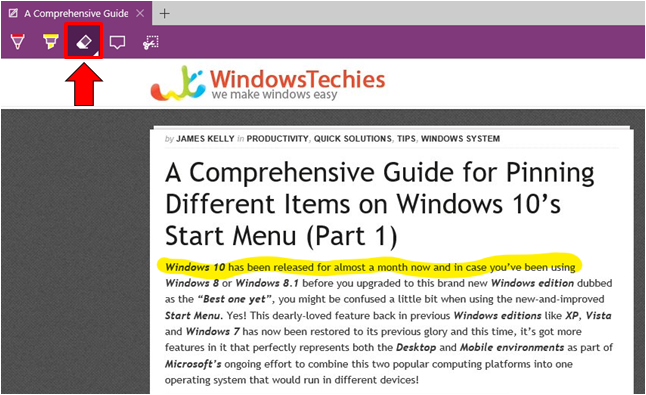 After clicking on the “Eraser” button, simply head towards the portion that you want to delete whether it is a mark done with the “Pen” or a certain portion that is marked by the “Highlighter”. Once you are on the marked part, just click on top of the ink that you want to erase and it will automatically be removed.
Adding Notes
Aside from the tools already mentioned above, Microsoft Edge also adds more personalized marking on certain webpages by allowing you to enter the very meat of the “Web Note” tool which is a personal note! To do this, you will simply need to click on the button that is found next (to the right) of the “Eraser” tool and after you do so, just head towards the part of the webpage where you want to add your personal note on. 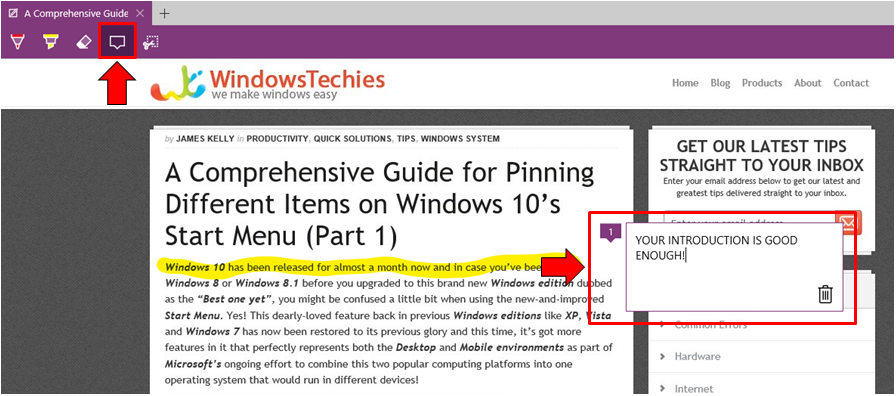 Once you are on the section where you want to add the personal note on, simply click beside the element where you want to add the note on and you will see a textbox that will appear. You will then be able to enter your notes inside this textbox and if you wish to delete the note, just click on the “Trash bin” icon that is found on its bottom-right portion as you can see on the screenshot above.
Sharing a Web Note
Finally, after you’re done doing the edits and putting some notes on a webpage or web article that you’ve been reading or working on, you can now send or share it simply by clicking on the “Share” button which is found at the top-right portion of the screen as highlighted below.  After this button is clicked, the “Share” screen will slide-in from the right edge of your computer and from here, you can select the app which you’d like to use in sharing the content that you’ve added some notes on as you can see on the screenshot below.
  After clicking on the app that you want to use for sharing the webpage which you placed note on, just follow the instructions that the app itself would give until your content is shared. We will be discussing this in greater detail on our next tutorial so be sure to watch out for it. Did one of our tips help you solve your problem with your Windows 10 machine? Make your friends know about it! Feel free to share our articles so you can help your friends get around with some problems in their Windows 10 machine.