A Detailed Guide in Using the Options Under File Explorer’s View Tab (Part 1)
Through the years, the popularity of Windows being one of the most widely used computer operating system is really undeniable. From home computers down to laptops and now even on mobile devices, Windows has really proven us all that it is a flexible operating system that is capable of ruling all of the available devices in our modern world.
However, this popularity has become shrouded with issues especially when Windows 8 and Windows 8.1 were released. These supposed modern versions of the Windows operating system has failed to become the bet of millions of users because of the sudden changes that were introduced in it which includes the removal of the Start Button in Windows 8 and the absence of both the Start Menu in both Windows 8 and Windows 8.1.

But instead of focusing on the things that were removed in these operating system versions, let us try to put our focus on the awesome features that it has and before we discuss more about the Windows 10 operating system which is scheduled to be formally released on the 29th of July, we will first continue to explore the last group of “ribbon-based options” that are found on the top portion of the File Explorer Window which is labeled as “View” so sit back, get your Windows 8 or Windows 8.1 machine prepared and follow the steps that we are going to show below.
How to Launch the File Explorer Window
Before exploring the contents of the “View” tab that is found on the top portion of the File Explorer Window, let us first have a review of the methods in how this built-in file management tool is accessed in both Windows 8 and Windows 8.1.
There are plenty of ways in how this tool is launched and we will start with the easiest one which involved a keyboard shortcut combination. To do this, you will simply need to press on the Windows + E keys on your machine’s keyboard and the File Explorer Window should launch in an instant!
Use the File Explorer Icon on the Taskbar
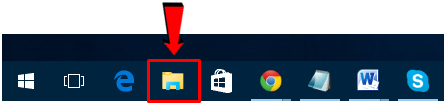
Another option in launching the File Explorer Window is by clicking on its quick launch icon that is pinned on the taskbar. This is possible of the icon has not been removed yet but if someone else have removed this icon from the taskbar in order to free up some space in it then you won’t be able to see the File Explorer quick launch icon on it any longer.
Access File Explorer from the WinX Menu
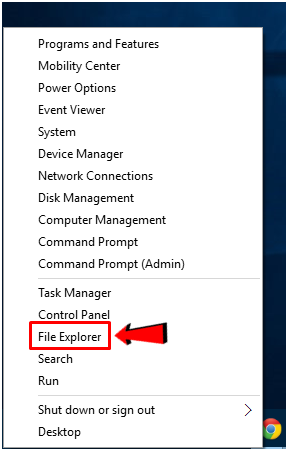
One of the new features that were introduced in Windows 8 and was preserved in through Windows 8.1 is the WinX Menu. This menu contains some shortcut links to certain system tools and locations which includes the File Explorer Window. To access File Explorer from this menu, simply press the Windows + X keys first and after doing so, the WinX menu should appear at the bottom-left portion of your computer screen. From this menu, simply click on the link that says “File Explorer” as highlighted on the screenshot below and the File Explorer Window should open instantly.
Use the Command Prompt Tool
Another way in launching the File Explorer Window in your Windows 10 computer is through the Command Prompt tool which is also considered as one of the oldest tools that is built-in with the Windows operating system. To access this in both Windows 8 and Windows 8.1, all you need to do is first access the WinX menu by pressing the Windows + X keys then click on “Command Prompt” as you can see highlighted on the screenshot below.
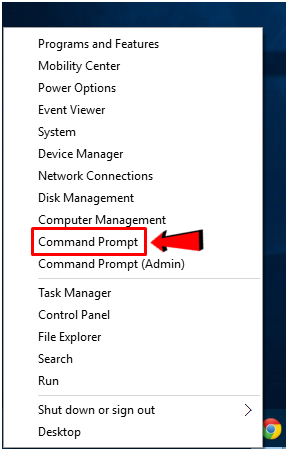
You can also click on the “Command Prompt (Admin)” link on the WinX menu to open the Command Prompt tool with administrator rights and once the Command Prompt Window opens, just enter the word “explorer” into it then press the “Enter” key. After doing so, the File Explorer Window should open right away.
Use the Run Box
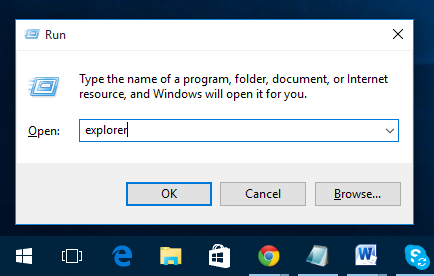
Lastly, if you want to learn another easy way in accessing the File Explorer Window then you will need to get familiar with the “Run” box. To access this Run box tool, simply press the Windows + R keys on your machine’s keyboard and after doing so, the Run box will appear at the bottom-left portion of the screen. In this box, simply type in “explorer” into the text input section that is found on it then hit the “OK” button. After you do so, the File Explorer Window will launch automatically.
Where to Find the View Tab
Now, once the File Explorer Window opens after you use any of the methods that are shown above, you will need to open one of the libraries or folder that is saved in your computer and for this tutorial, we will be using the “Downloads” folder for illustration purposes. You can use other libraries or folder in your computer if you wish to do so. Once a library or folder is open in File Explorer, you will notice that there are tabs on top and one of them is labeled “View” as you can see below.
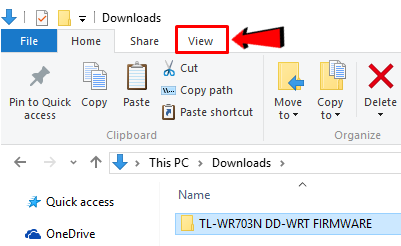
In order to see what options are placed under the “View” tab, all you need to do is click on it and all of the options that are under it will open in a ribbon just below the tabs as highlighted on the screenshot below.

As you can see, there are plenty of options under this tab and in this tutorial series, we will be going over each one of them so you can get familiar with their uses and functions. So let’s first see what the options under the “Panes” group actually does.
How to Use the Options Under the Panes Group
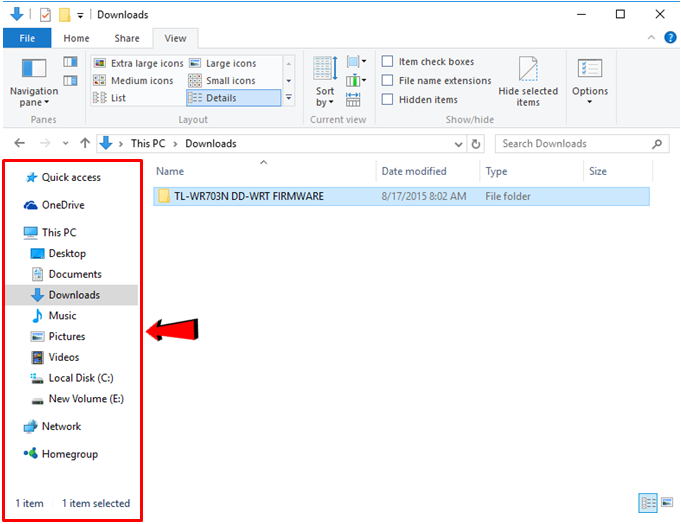
Now, on the ribbon-based options that are found under the View tab, you will see that there are actually 4 groups which are labeled accordingly and the first one is labeled as “Panes”. If you look at the layout of the File Explorer Window closely, you will notice that there are actually 2 panes by default, the one at the left which is called the “Navigation pane” as highlighted on the screenshot below.
And another pane on the right which is bigger than the one that is found on the left and is called the “Contents pane”. This pane is where all the contents of a specific folder, library or even a drive are displayed. However, you can add a third pane to these two default ones and doing so is very simple. Just follow the steps that are shown below to accomplish this.
Navigation pane- The first icon that is found under the “Panes” option group is labeled as “Navigation pane” and when you click on it, you should be able to access more options that you can use in tweaking how the items in the navigation pane appear.
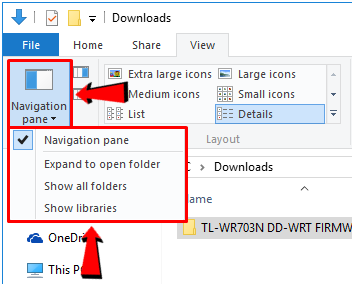
- Expand to open folders- When this option is enabled, there will be more items in the navigation pane that you would need to scroll through since all of the libraries and folders will be expanded.
- Show all folders- This option will display all of the folders that are saved in your computer on the navigation pane including those that are stored under existing libraries.
- Show libraries- Choosing to enable this option will display only libraries on File Explorer’s navigation pane.
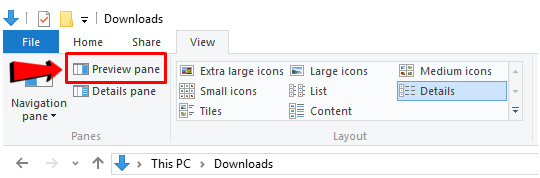
Preview pane- Now, if you want to enable an extra pane which will be the third on on the File Explorer Window, you can select the “Preview pane” option and a new pane will appear at the right hand portion. This pane will then work as the section that displays a preview of a certain file like a photo, video or even a document. A very helpful one especially of you don’t like to open a files one by one just to find the exact stuff that you are looking for.
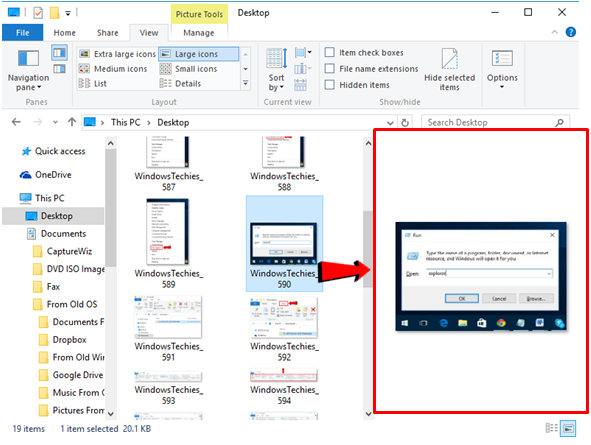
The Preview pane looks like the one shown below and as you can see, a thumbnail for the selected file is displayed in it that is big enough to be recognizable to the normal working eye.
Details pane- Lastly, you can also choose to enable the “Details pane” as the third pane on the File Explorer Window instead of the “Preview pane”. This pane will show some details of a selected file or folder and you can even edit the details that are displayed in this pane before sending a certain file via email.
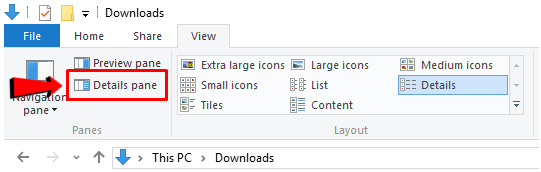
The Details pane looks like the one shown below and as you can see, it also displays a smaller thumbnail of the selected file and the details about it are located at the bottom of the thumbnail.

More About the View Tab in Part 2!
As you can see, there really are some very useful options that are found under the “View” tab of File Explorer’s ribbon-based options and we’ve only shown the first options group here. In the second part of this tutorial, we will be discussing even more so be sure to stay tuned-in with us here so you can learn about the rest of the options that will surely make you become more productive than ever!