3 Steps in Using the Clipboard
One of the options that you will find on the ribbon of most desktop programs which are capable of editing documents and pictures is called the “Clipboard”. Just like the actual clipboard that you use in the office or in school in the case of students, it temporarily holds anything that you decide to pick from any location of the operating system such as pictures, texts and some other types of files that you want to transfer from its original place to another location maybe because you’re trying to organize some stuff or just getting everything transferred so you can start cleaning your machine’s memory from useless files like the ones that you can find in the Downloads folder. Whatever is it that you want to do, getting a good grip with the options that are available in the Clipboard would prove to be of great use and if you’d like to find out some other details about it and also know where it appears on your Windows 8.1 machine then this tutorial will surely be of great help.
1. Using the Clipboard in WordPad
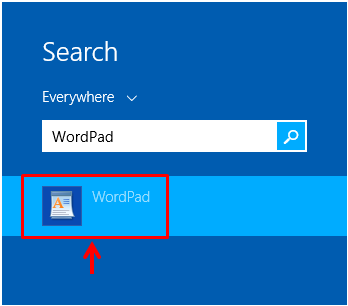
One place where you can definitely find the “Clipboard” option is in the WordPad desktop app’s ribbon. Try to open WordPad in your Windows 8.1 machine by clicking on the Start Button and typing the name of the app (WordPad) on your computer’s keyboard. After doing so, you should be able to see the Search screen which contains a search input box and the name of the app that you typed on the keyboard should already appear in it. Below the box, you should see the search results and if you are done typing WordPad, the Wordpad shortcut should be the only item that will appear and nothing else.
After clicking on the shortcut, the WordPad desktop app should now open on a Window and on the top portion of it, you should be able to see the ribbon-based options which contain the “Clipboard” group. To use this section, try to copy a picture from your computer’s Pictures library. Copying items from different locations is simply done by first selecting the subject done by clicking on it and afterwards, you can either press the “Ctrl+C” keys or right-click on the subject to be copied and hit the “Copy” option from the right-click menu that appears.

Once the subject item is copied, you can head back to the WordPad Window and you will notice that the “Paste” option will now be clickable as shown on the screenshot below. Now, you need to make sure that the cursor is in the right position where you want to put the image on before clicking on the “Paste” option.

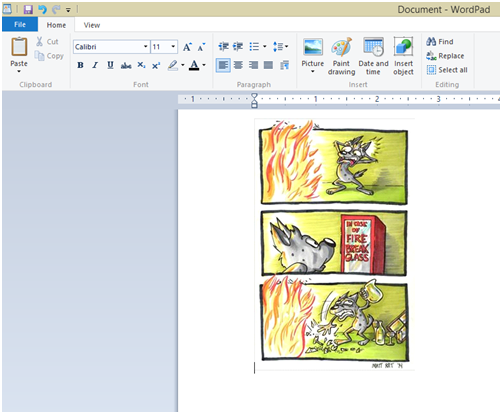
After placing the cursor into the proper location, you can now click on “Paste”, you will notice that the picture which you copied will now be on the main input screen of the WordPad Window.
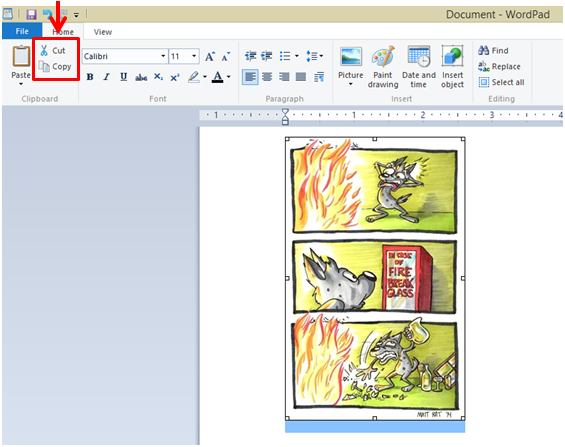
Now, try to click on the picture that you have just pasted so it will be selected and after doing so, you will notice that the “Cut” and “Copy” options will become clickable. If you click on the “Cut” option, the picture will be taken out and disappear from the main input screen while the “Copy” option will just copy it ready to be pasted into another desktop program like Microsoft Word or just in WordPad alone but on a different part of the input screen.
TIP:
You can make the image that you posted on WordPad become bigger or smaller. To do this, simply put the mouse pointer on any of the small squares that lie on the edges and corners of the image whenever you select it. When the mouse pointer turns into an arrow, that’s the time that you can click and hold on it and drag it to the direction where you’d like to extend the image into. If you don’t want the dimensions of the image to be affected when making it smaller or bigger, just use the small boxes at the corners instead of the ones that lie at the center of each edge and drag it inward to make the image smaller or outward to make it larger.
2. Using Clipboard in File Explorer
The Clipboard options not only appears in the ribbon of some desktop programs but even in File Explorer as well and it works very much the same when you used it inside an app. To get familiar with how it works while you are in File Explorer, you will first need to open the File Explorer Window itself then open a certain library or folder that contains some images or other files in it which you can copy. In your brand new Windows 8.1 machine, you should be able to see the File Explorer thumbnail pinned on the taskbar.

To open File Explorer, all you need to do is click on the thumbnail once and wait until the Window opens. After doing so, you will need to open the folder or library which contains the picture or file that you would like to copy. In this tutorial, I will be selecting an image from one of the folders that I saved on the desktop screen for illustration purposes but in your computer, you can select files or even folders if you wish.
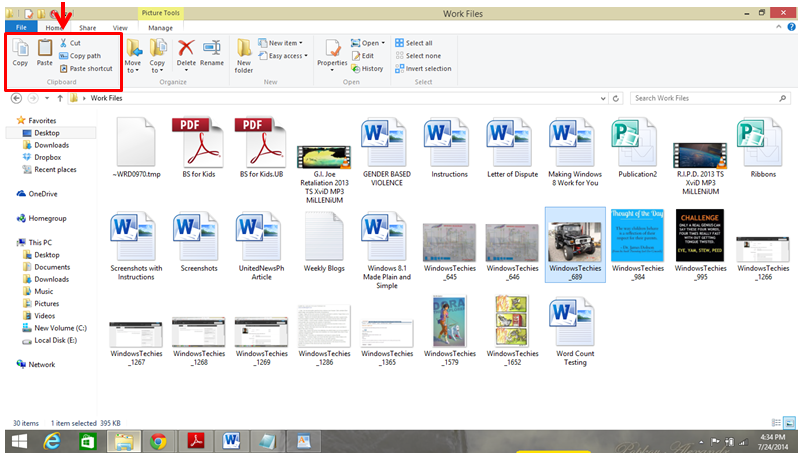
As you can see, right after I selected an item from a folder’s contents, all of the options under “Clipboard” on File Explorer’s ribbon suddenly became clickable. If you want to copy the item you selected, you can simply click on the “Copy” option then go to the new location where you want to transfer the file. Once you are on the new location where you would like the file to be in, just click on the “Paste” option and it will automatically be copied.
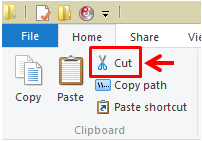
3. Cut, Copy Path and Paste Shortcut
If you look at the “Clipboard” section on File Explorer’s ribbon, you will find even more options in it. First is labeled “Cut” and if you use it while an item is selected on the contents pane, you will notice that the selected item will disappear but it is not deleted yet, if you go to other locations, you can click on “Paste” and the item that you’ve cut earlier will be pasted.
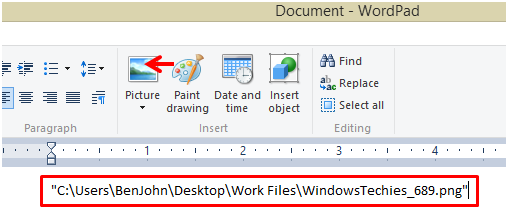
Next to it is the “Copy path” option and is a very good tool which you can use in giving the exact location of an item. Try selecting a file, folder or any other item while you’re in File Explorer and click on the “Copy path” option. After you do so, it will seem like nothing happened but if you open a text editor such as Notepad and press the “Ctrl+V” keys which is the keyboard shortcut for “Paste”, you will notice that a group of texts will be pasted which represents the path that will lead other users to the file, folder or any other stuff that you selected. The screenshot below is an example of a file path.
To use a file path, all you need to do is input or paste it into the search input box that is available on the search screen and the file that it leads to will automatically appear on the search results.

Finally, the last option is labeled “Paste shortcut” and as its name suggests, it will help you to easily create a shortcut for the file, folder or any other stuff that you have selected. As you can see, The Clipboard and all of the options that are available in it comes in handy especially if you’re trying to manage some of your contents. Just take time to experiment on these options and you’ll surely be on your way to mastering the Clipboard feature available in Windows 8.1’s ribbon-based options!