Learning Your Computer’s Complete Configuration from the System Information Window
There are plenty of reasons why millions of people love Windows and being able to tell almost all that a user might want to know about their machine’s hardware and the operating system itself is just one of them. Yes! Windows has a feature which lists every detail that you need to know about your computer and its software aspect and these information are very much valuable especially if you are trying to replace a hardware or fix a problem that has been plaguing your machine for a long time.
This feature is called the “System Information” Window and it has been available in the Windows operating system since Windows Vista. It has then been carried over to Windows 7, Windows 8, Windows 8.1 and now, it is on Windows 10. In this tutorial, we will be showing you the steps in how you can access this feature first in Windows 10 then in Windows 8.1 and Windows 7 in for the benefit of those readers who are still using these Windows OS versions on their computer so be sure to get your machine fired-up and follow the items that are demonstrated below.
What Sort of Data are Shown in the System Information Window
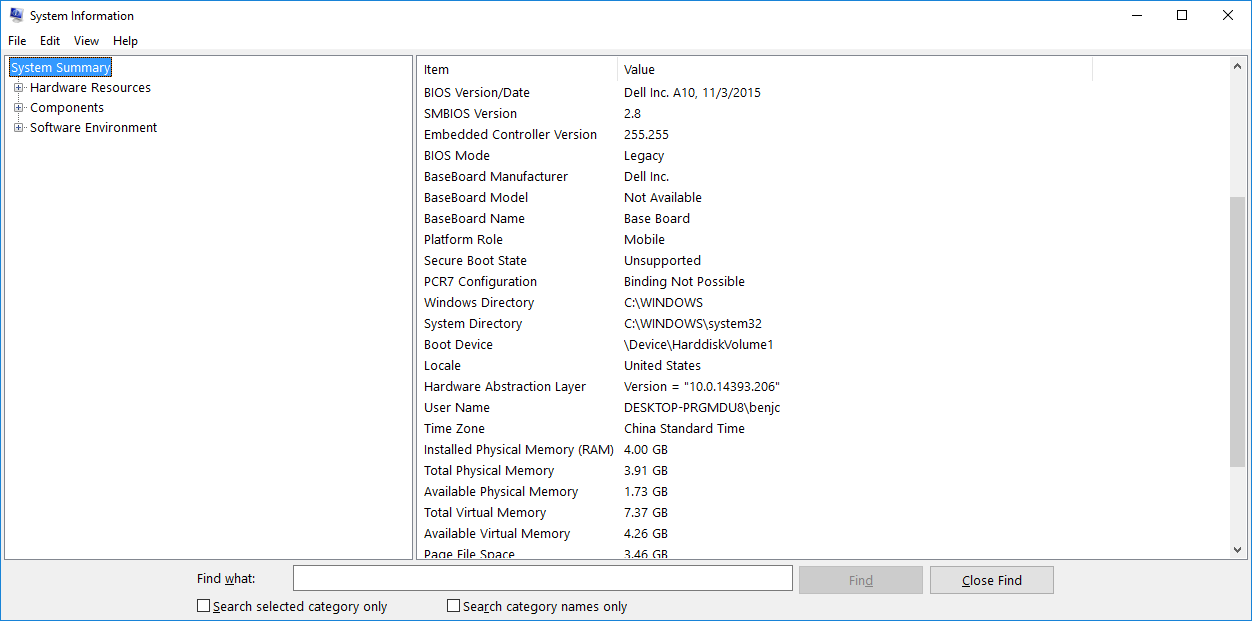
As we have mentioned earlier, the “System Information” feature bears all of the relevant system details that a user needs to know about their Windows machine. This includes the OS Name, OS Version, OS Manufacturer, System Name or your computer name, the manufacturer of your machine, its model, the system type (whether it is 32-bit or 64-bit operating system that is installed on your computer), the processor, BIOS information and many other details which you are going to see as we move along in this tutorial. The System Information Window is shown on the screenshot below
There’s a shorter set of system information which is part of the Control Panel feature under “System” but it only shows a limited amount of information as you can see below.
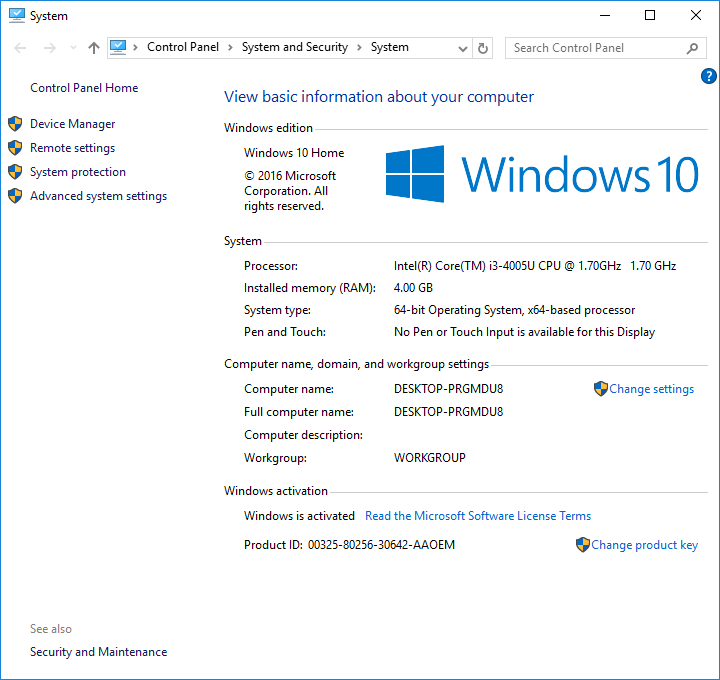
This same section can also be accessed from the WinX menu in Windows 8.1 and Windows 10 but again, the information presented in it is very limited which is why you need to learn how to access the “System Information” Window and that’s exactly what we’re going to discuss next.
Accessing System Information in Windows 10
The Windows operating system has been evolving over the years and the latest one is probably the best so far. Yes! It now has even more features than its predecessors not to mention the metro environment with all the modern universal apps that easily adds features to a single PC or laptop in an instant!
But no matter how modern Windows would get, its base components like the hardware that makes it work remains the same and if you want to view a complete list of them which is found on the “System Information” Window, here’s what you need to do.
First, you need to know that there are several ways in accessing this feature in Windows 10 and the same is true with the older Windows OS versions as we’re going to find out later. One of the easiest method in launching System Information in your Windows 10 machine is by using the Search feature. To launch the Search screen, you will simply need to press the Windows + S keyboard shortcut combination. After pressing it, you should be able to see the Search feature on the bottom-left portion of your computer screen and in here, simply type “system information” into the search input box that is located at the bottom as shown on the screenshot below.
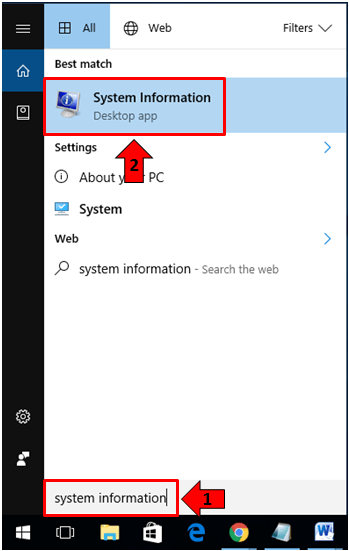
After typing in “system information” into the search input box that is found at the bottom of the Search feature, you should be able to see the search results appearing above it and from here, all you need to do is click on the shortcut that is labeled “System Information” as you can see being shown above. Doing this will launch the “System Information” Window instantly!
Another method that you can also try in launching the System Information Window in your Windows 10 machine is done from the Start Menu. In order to do this, you will need to start by launching the Start Menu first. Just click on the Start Button or press the Windows key in order to open this menu and once it appears on the bottom-left portion of your computer screen, simply scroll down to the “W” items group in the “All apps” section which is found on the center portion of the Start Menu and find the “Windows Administrative Tools” folder as shown below.
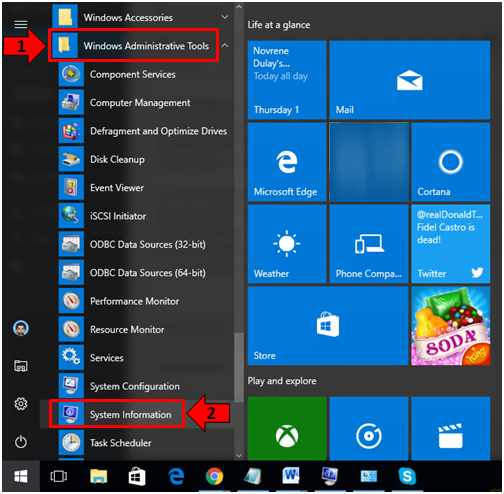
Once the contents of the “Windows Administrative Tools” folder opens, you will need to scroll down and look for the shortcut that says “System Information”. Once you find it, all you need to do is click on it as shown on the screenshot above and the “System Information” Window should launch right away.
How to Launch the System Information Window in Windows 8.1
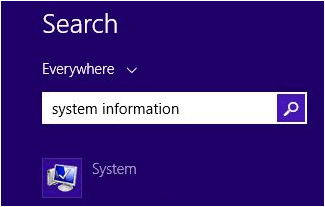
Windows 8.1 is quite similar to Windows 10 but not that much since it still has the the Start Screen instead of the Start Menu. If you are still using Windows 8.1 on your computer, you will not be able to access it using the Search feature since it has been hidden within the operating system. As you can see on the screenshot below, searching for “system information” in Windows 8.1 only shows a shortcut that is labeled “System” and this is the one that shows only a limited set of information about your computer as we have shown in the start of this tutorial.
In order to launch the System Information Window in your Windows 8.1 machine, you will simply need to open Control Panel by first accessing the WinX menu and clicking its shortcut link that is found on it. Once the Control Panel Window opens, simply click on the “System and Security” settings category and once it opens, click again on the “Administrative Tools” link. After you do so, the “Administrative Tools” Window should open as shown on the screenshot below and from here, just click on the shortcut that is labeled “System Information” in order to quickly launch the System Information Window!

And that’s how you launch the System Information feature in Windows 8.1. There are still other available methods in doing this but we will limit it to the one that we’ve shown above since it is the simplest one that can easily be followed even by novice users.
How to Launch the System Information Feature in Windows 7
Lastly, if you are still using Windows 7, you can also access the System Information Window in it in case you need to know some information about your computer’s hardware and software. To access this feature, you will first need to open the Start Menu by clicking on the Start Button or pressing the Windows key then click on the Control Panel shortcut that is found on it. Once the Control Panel Window opens, just click on the “System and Security” settings category and once it opens, simply hit “Administrative tools”.
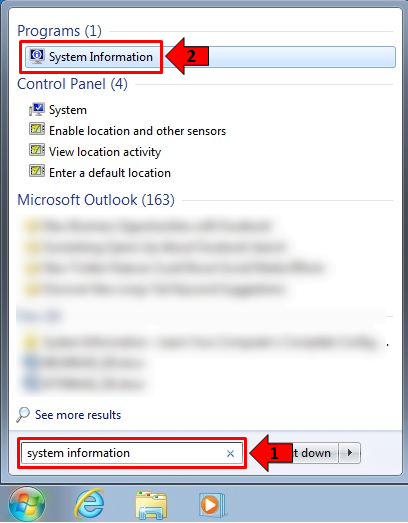
You may also access the System Information Window using the Search feature in Windows 7. Just launch the Start Menu and once it opens, simply enter the words “system information” into the input box that is found at the bottom of the Start Menu and after doing so, the search results will start appearing just above it. From here, simply click on the shortcut that is labeled “System Information” which is found under the “Programs” search result category as you can see below and after doing so, the System Information Window should open in an instant.
That’s how simple it is to launch System Information in Windows 7 and as you can see, there are some similarities with the way it is accessed to that of Windows 10. If you encountered problems along they way while trying to access the System Information Window, please feel free to tell us by describing the problem on the comments section below and we’ll do our best to help you solve the trouble that you might have experienced.
More About System Information in our Next Tutorial
Microsoft has really made sure that the Windows operating system is complete with all the troubleshooting tools that a user might need in times of trouble and the existence of the System Information tool is a proof of this. With this feature being made available to all users, looking for certain problems within the Windows operating system environment and all the hardware that is attached or built-in with the system becomes a lot easier.
However, we’ve only covered the basics about this awesome tool in this tutorial and we haven’t really gone deeper into the other components and aspects of it that will help you know even more information about hardware and the operating system software that is installed on your computer. These things and even more are going to be covered in our next tutorial so be sure to subscribe to our newsletter to get all the latest news, tips and tricks for your favorite PC operating system straight to your inbox.