Taking Full Control of the Start Screen
Every aspect of Windows 8 is connected to a basic feature called the Start Screen. This feature is one of the most striking change that was ever included in Windows 8 and probably the one that is most controversial due to its replacing of the Start Button and the Start Menu.
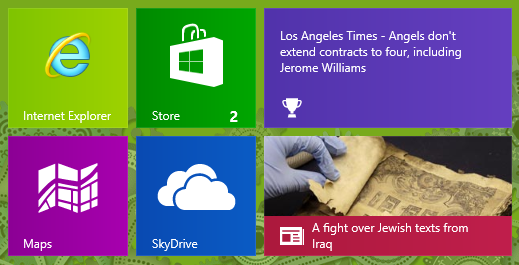
The Start Screen is composed of colorful squares and rectangles all representing the apps and programs that are installed on your Windows computer. Apps are represented by “Tiles” while desktop programs are represented by “Shortcuts”. The tiles that represent the built-in apps are arranged well on the Start Screen and you’ll see them first after Windows 8 boots up but all the rest of the programs that you install on your computer will just take any spot on the Start Screen making it become more cluttered as time goes by. When this happens, it becomes harder to find a shortcut on the Start Screen which is why you need to learn how to take full control over the contents of this very important feature in Windows 8.
Tiles and Shortcuts: How Do They Differ?
There are two things that you can find on the Start Screen; one is “Tile” and the other is “Shortcut”. Both of these serve the same purpose which to represent an installed app or program and clicking on them essentially starts the program itself. However, it is important to distinguish one from the other if you are to group tiles and shortcuts separately. Identifying which one is a tile and which one is a shortcut is very easy if you are observant of the details but for the benefit of those who are just learning the basics of Windows 8, here are some distinguishing factors that will help you identify a tile from a shortcut.
Tiles
Start Screen Tiles are generally colorful. They also come in two sizes (square and rectangle) and clicking on them will open the app that they represent all in a full screen (without the minimize, maximize and the exit buttons at the top-right corner). Tiles can also be resized. For instance, a square tile can be made larger for it to become a rectangle and a rectangular tile can be set to become smaller so it becomes a square. Right-clicking on a tile also summons a set of options that appears on a bar that pops out of the bottom of the screen. Moreover, some tiles also show live information, news, pictures and other details of real-time events so you won’t need to open the app just to get an overview of what it contains. This feature is more commonly called as “Live Tiles”.
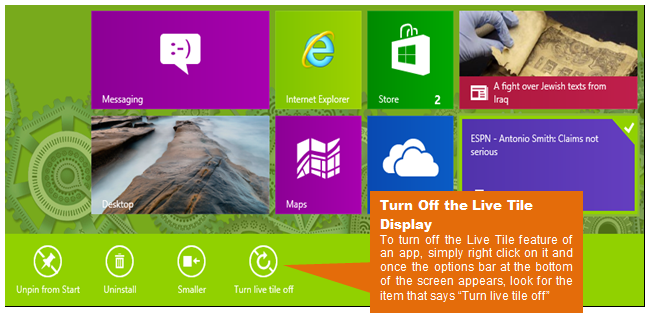
The Live Tile feature can also be disabled if in case you don’t want to see some moving objects inside a tile on your computer’s Start Screen.
Shortcuts
Unlike the Start Screen Tiles, shortcuts serve the same purpose as what we have known them for back in Windows 7. These important items on the Start Screen represent each desktop program that is installed on your computer but they are not capable of being changed into a larger or a smaller shape as Tiles do. Shortcuts just show the logo or icon of the program that it represents and is not capable of showing live and real-time information of what’s happening within itself. You’ll also notice that the background of each shortcut just follows the color of the Start Screen background which makes them easier to distinguish from Start Screen Tiles.

Working With the Tiles and Shortcuts on the Start Screen
As I have pointed out earlier, the items on the Start Screen can become cluttered as you install more and more programs to your computer and when this happens, it becomes harder and harder for you to locate a certain shortcut or tile. This is the reason why you need to learn how to move, arrange and group some tiles and shortcuts together and name them accordingly so it becomes easier for you to find the one that you want to access. To learn how to do these things, just follow the steps that I’ll be showing below.
1. Move Tiles and Shortcuts Easily
One basic thing that you need to learn if you want to manage the things that are present on the Start Screen is how to move them to where you want each one should be.

2. Creating a New Group of Tiles or Shortcuts
To group tiles, you need to drag and drop the ones that you want to group together into one place on the Start Screen. Simply drag a tile or a shortcut towards an empty space (either in between groups or on the last part of the Start Screen) and once you see a vertical bar, simply drop it.
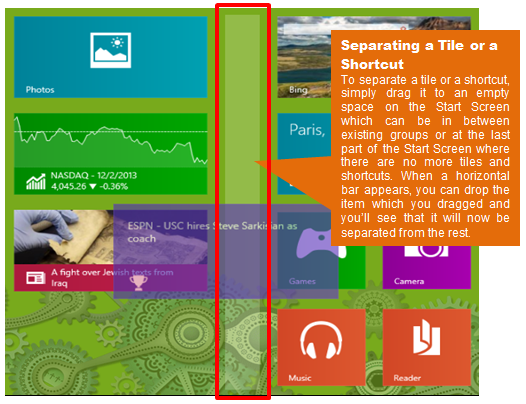
Just do the same process to all the other tiles and programs that you want to group together and the next step would be naming the group.
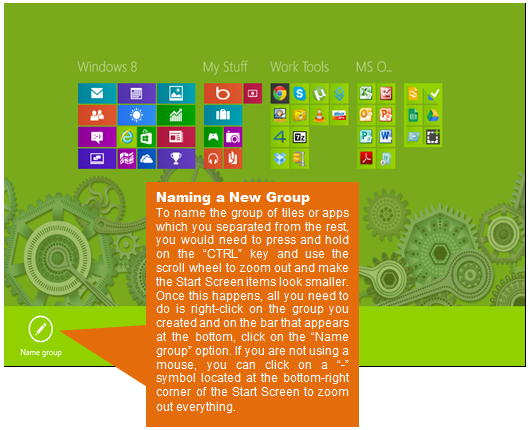
3. Naming the Group You Created
Now that you moved the tiles and shortcuts to a separate group, it is time to name the newly formed group. This step would help searching for items on the Start Screen a lot easier.
4. Disable the Live Tiles
The Live Tiles feature in Windows 8 is very useful but there would be other users who would find it boring and redundant. If you are one of those who feel this way about the Live Tiles on the Start Screen then you can disable it.
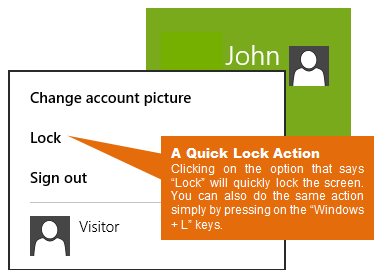
5. Quickly Lock the Screen
Simply access the Start Screen and you’ll find your account name at the upper-right corner. Clicking on it will open more options which includes one that says “Lock”.
More Options For the Start Screen
There are still more options for the Start Screen which can be found in the “PC settings” section of Windows 8 like changing the background image and the color scheme but I will leave the exploring and experimenting for you to try. Learn more about the latest operating system by Microsoft. Keep in touch with us here on windowstechies.loc to get the best tips and the latest news on Windows 8 and Windows 8.1.