Troubleshooting Windows 7 Wireless Internet Connection Problems
At present, the number of people using mobile devices like laptops, netbooks, notebooks and hand-held devices is growing. The smartphone trend also increased the number of people depending on wireless networks making the term “WiFi” or Wireless Fidelity well known to people the world over.
The Windows 7 OS offers more than what you need for your wired and wireless network needs however; there would be times that your network adapter doesn’t work properly. During these instances, all you need to do is to troubleshoot the problems. Windows 7 offers an efficient troubleshooting wizard that will help you identify the problem and solve it right away. Here are few simple steps that you can follow in order to solve your wireless network problem.
How would you identify that you don’t have internet access?
It is important that you know how to identify whether you’re connected to the internet or not. The initial signs are shown by Windows 7 right on your screen. The wireless connection signal indicator has a yellow exclamation mark whenever you don’t have connection to the internet. Keeping your mouse on the icon will show a pop-up message saying “No Internet access”.
Another sign is when any of the browsers you’re using can’t open or access websites.
Internet Connection Troubleshooting
Troubleshooting a wireless network internet connection on your Windows 7 machine doesn’t require you to be an expert. You simply have to learn how to use the troubleshooting wizard. The steps below will help you go through the process:
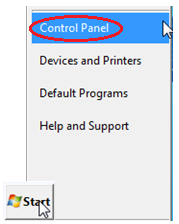
- On your computer, click the “Start” button then click “Control Panel”.

- Click “View network status and tasks”.

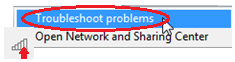
- On the window that appears, click “Troubleshoot problems”.

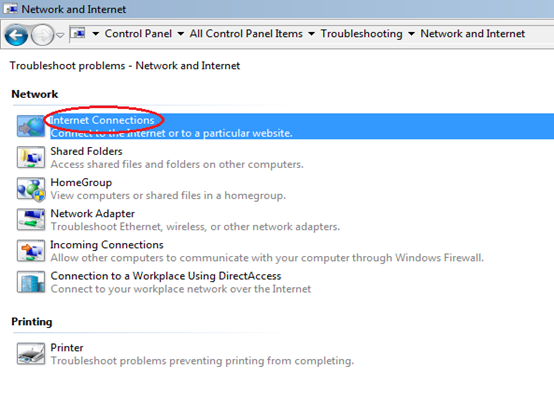
- The next window will show a list of Network and Internet troubleshooting wizards. Select “Internet Connections”.

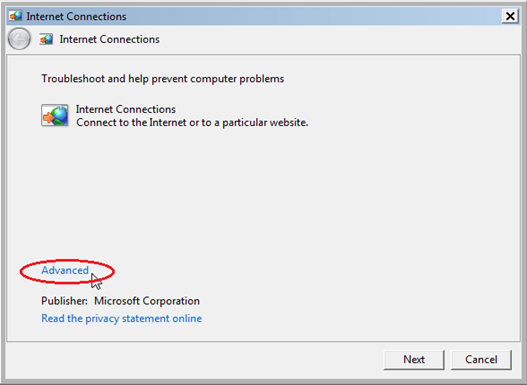
- Click on the “Advanced” link.

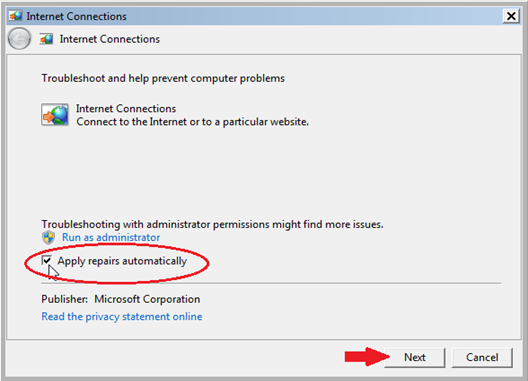
- You will then see an option telling you to “Apply repairs automatically”. Check this one then proceed by clicking on “Next”.

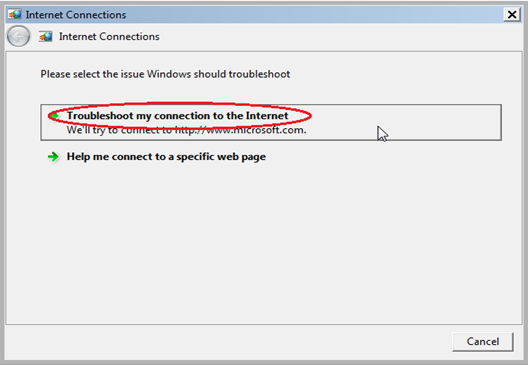
- The wizard will then ask you what you want to troubleshoot. Once you see this message, just click on “Troubleshoot my connection to the Internet.”

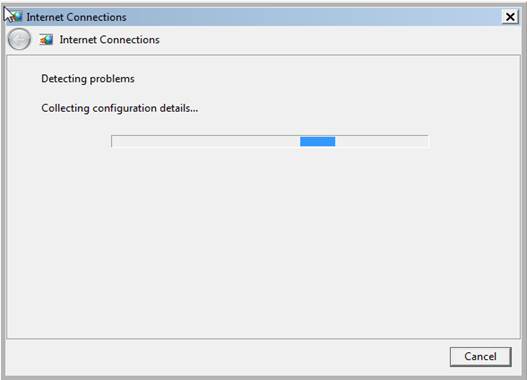
- The next process will initiate the wizard. It will look for the problems and the possible causes. You just have to wait until it’s done. The process shouldn’t be longer than a minute.

Once the wizard finishes detecting the problems, a list of the problems found will be listed.
- To solve the problems, you can go again to the icon on your task bar, right click on it then click “Troubleshoot problems”.

- You will just have to wait until troubleshooting and problem fixing finishes and you’re done! Windows 7 will then alert you of any additional problems that should be fixed.
When advanced problems are detected, it will be helpful if you search the internet for solutions of how you can fix it or seek help of a network expert (a friend/acquaintance) that you know to further fix the problem and make your machine connect to the internet again.