6 Useful Tips in Working with Playlists on Windows Media Player
Previously, we have gone through the basics in using Windows Media Player on your Windows 8.1 machine and got acquainted with the buttons that are available on its control pane but you will still need to learn even more about this built-in desktop program so you can make the most out of it and take its use to the next level. Here are tips that will take you through some often ignored features of the Windows Media Player program.
1. Creating a Playlist
You might want to play a specific set of music saved in your hard drive instead of playing all the music one after another. If this is the case then you can simply create a playlist of only the songs and music that you want to play for the moment. To do this, just click on the “Create playlist” button on top of the Window or press on the “Alt + C” keys. After doing so, another set of options which says “Create playlist” and “Create auto playlist” will appear.

When you choose the “Create playlist” option, an input box will appear on the navigation pane at the right side of the screen where you can enter the name of the playlist that you’d like to create.
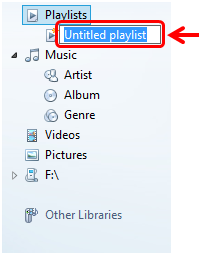
After entering the name that you want to assign to the new playlist, simply click on an empty space outside the box and the name will be saved automatically. To add songs to your newly created playlist, simply click on the “Music” link located on your navigation or any other library where the music that you want to add are stored and after doing so, just click and hold then drag and drop the songs to the playlist name on the navigation pane.

TIP:
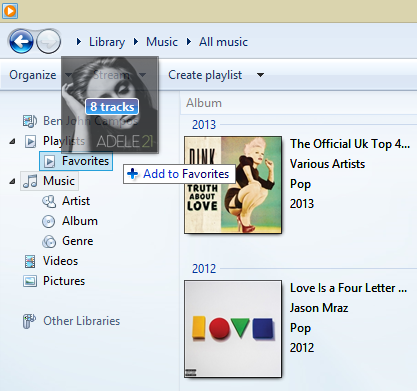
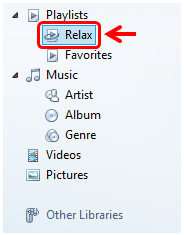
You can drag-and-drop songs one-by-one but it would take more time than just selecting them at once by and dragging them as a group altogether. To do this, simply press and hold the “CTRL” key and start clicking on the songs that you want to add to the playlist. After everything gets selected, you can now release the CTRL key and just click and hold on any one of the selected songs and drag it towards the name of the playlist located on the navigation pane at the left. On the screenshot below, you will notice that I was able to select 8 songs and have them added to the “Favorites” playlist.
2. Working with Auto Playlists
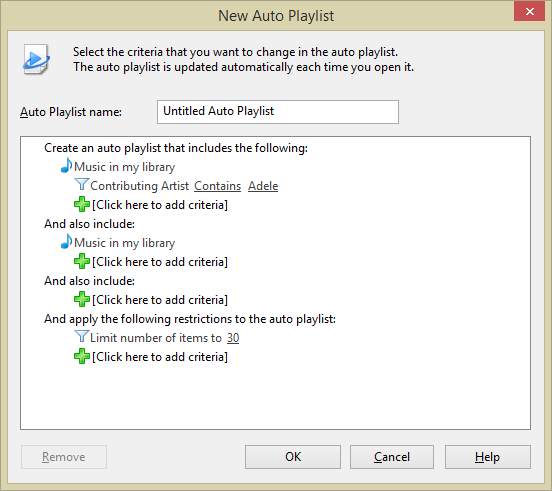
Another option that is available for setting up playlists is the one that says “Create auto playlist” which appears when you click on the drop-down arrow for the “Create playlist” button on top or press on the “Alt + C” keys while the Windows Media Player Window is open. After clicking on this option, you will be able to to see a new Window that contains the input box where you can enter the name that you want to assign to the new playlist and as well as the criteria for the songs that you want to play with it. Just set each criteria according to your preference and hit the “OK” button located at the bottom.
After doing so, the auto playlist which you created will appear on top of the other playlists that are located on the navigation pane at the left of the Windows Media Player screen.
To change any criteria for the auto playlist you have created, all you need to do is click on the “Edit” button on the top-left portion of the Windows Media Player screen just beside (to the right) of the “Create playlist” button.

When you click on the button, a small Window will appear which looks identical to the one that appeared when you created the auto playlist however, it is now labeled as “Edit auto playlist” and from here, you can edit any criteria or even add a new rule that you want to apply to the auto playlist.
3. Deleting a Playlist
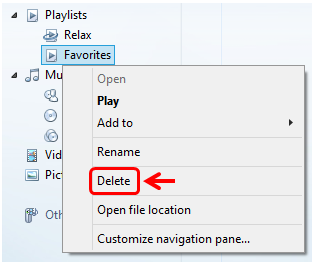
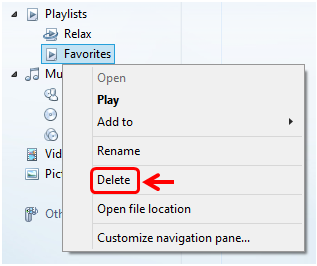
You might have a playlist which you’d like to delete because everything looks the same with another one or the navigation pane is getting so crowded. In this case, you can delete a seldom used playlist to free some space on the navigation pane and save you the scrolling. Deleting a playlist is very simply. All you need to do is put the mouse pointer on top of the name of the playlist that you want to delete the right-click on it. After doing so, a right-click menu will appear where you can click an option that says “Delete” to initiate the process.
After doing so, you’ll be able to see a prompt asking you if you want to delete the playlist just from the libraries section or have it deleted from both the libraries and your computer as well. From here, just select the option that fits your preference and hit the “OK” button. You can also tick inside the small box that says “Don’t show this message again” if you don’t want to get the prompt the next time that you delete a playlist.

4. Renaming a Playlist
When you add more and more playlists, there might be other ones that you’d like to rename so that you can change the name into something else and have its previous name assigned to the new one that you are going to create. To do this trick, simply right click on the playlist from the navigation pane at the left of the Windows Media Player screen.
After doing so, simply select the “Rename” option located on the right-click menu and then name of the playlist will automatically be enclosed in a box and highlighted ready for you to press on the Backspace key and enter the new name for the playlist.

5. Adding Videos to the Current Playlist
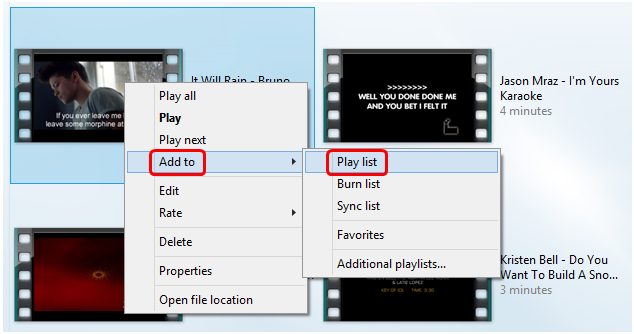
Now that we’re done working with some music, we’ll discover the ways of how you can add some videos to your current playlist. This trick is as easy as the previous ones that we’ve talked about above. Just click on the “Videos” link located towards the bottom of the navigation pane at the left of the Windows Media Player screen and once the videos appear on the contents pane, just right-click on the one that you want to add the current playlist then hit the option that says “Add to”. Another options box will now appear and from here, simply click on the one that says “Play list”.
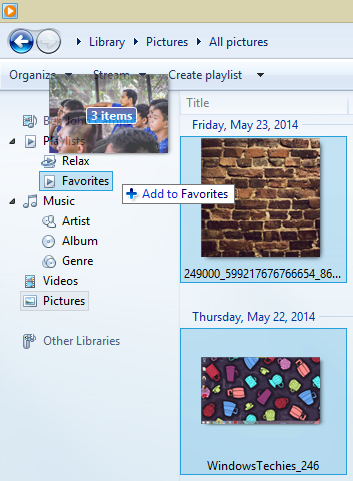
6. Adding Pictures to the Playlist
Adding Pictures to the current Windows Media Player playlist is done using the same steps in adding videos. Just click on the “Pictures” link at the bottom of the navigation pane on the left side of the screen and once the pictures saved on your computer appears, simply right-click on the one that you want to add to the playlist and click on “Add to” then “Play list”. You can also select multiple pictures simply by holding on the CTRL key and clicking on the ones that you want to add to the playlist. After all of them gets selected, just right-click on one and hit “Add to” then “Playlist” or click and hold on one of the selected item then drag it towards the playlist name.