Changing the Username and Password to Secure Your Wireless Network
WiFi networks have become a crucial component in every home or office in the 21st century. In fact, when you check on your phone’s WiFi network section, you might find a host of them listed one on top of the other especially when you are in a densely populated area. In an era where being connected to the Internet has become a basic necessity, getting familiar with some properties and other settings for your computer’s wireless network connection will truly give you an edge and ensure that you are connected online 24/7 no matter how many times the network administrator changes the password.
If you are a network administrator then you should also learn how to change the password of the wireless network that you have set up to make it more secure and avoid it from getting slower because of getting an overload of users connected to it. If you classify yourself as an advanced user then you should already know how to do this but for the benefit of the novice ones, we will cover this subject in greater detail and show how it is done in Microsoft’s brand new operating system, Windows 8.1.
Accessing Your WiFi Router’s Web Interface
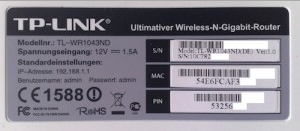
The very first thing that you need to learn if you have a WiFi router which you are using to generate signal to create a network is to learn how to access its web interface so you can make some adjustments to its SSID, password and many other aspects of it. Different models of routers have different web interface layout but the buttons, settings and tweaks that you can do with it are essentially the same. To access your router’s web interface, you will first need to find out its IP address. For brand new and untouched routers, you should be able to find its default IP address and as well as the default Username and Password on a sticker located underneath the hardware.
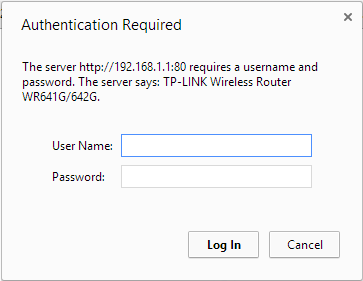
Most routers have 192.168.1.1 as their default IP address but you can change it as you will see later. After finding out what the default IP address is, you will need to open your favorite web browser then input the IP address into the web address box and hit the “Enter” key. After doing so, you will see a small Window asking you to enter the Username and Password. In brand new routers, the Username would be “admin” and Password is also “admin”. Just enter these information to the space provided and hit “Log In”.
After hitting the “Log In” button, you will then be able to access the router’s web interface and see the available settings and tweaks as links either on top or at the left of the screen. For the model of wireless router that I am using, all available tweaks are located at the left of the screen. To make your wireless connection more secure, you will need to learn how the change its Username and Password first of all because once someone gets access to the web interface, he/she will be able to view the network password and change even more aspects such as SSID and other stuff.

Changing the Router’s Username and Password
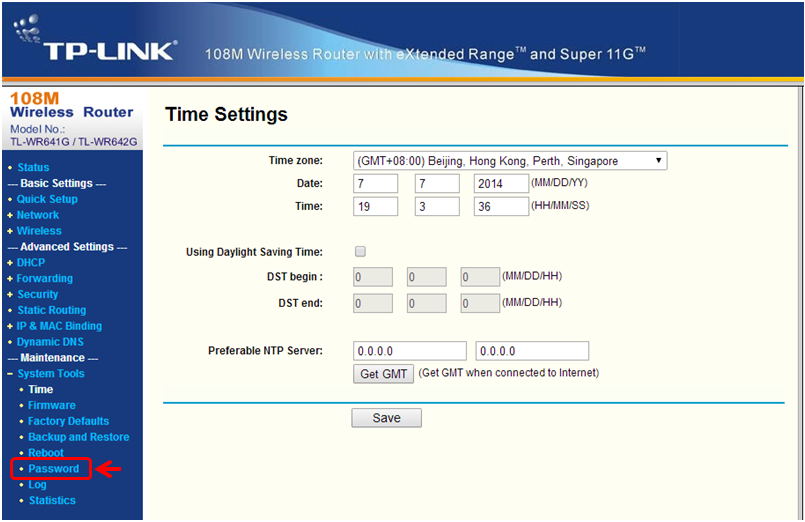
As I have mentioned earlier, changing the username and password that you enter whenever you open the web interface is a crucial step in ensuring protection for your wireless network. You can do this by first accessing the web interface using the default username and password if it wasn’t changed yet which is “admin” and when you arrive on the web interface screen, simply hit the “System Tools” option. In my router model, the System Tools section then expanded and revealed some other options that are under it and from here, you will need to click on the option that says “Password”.
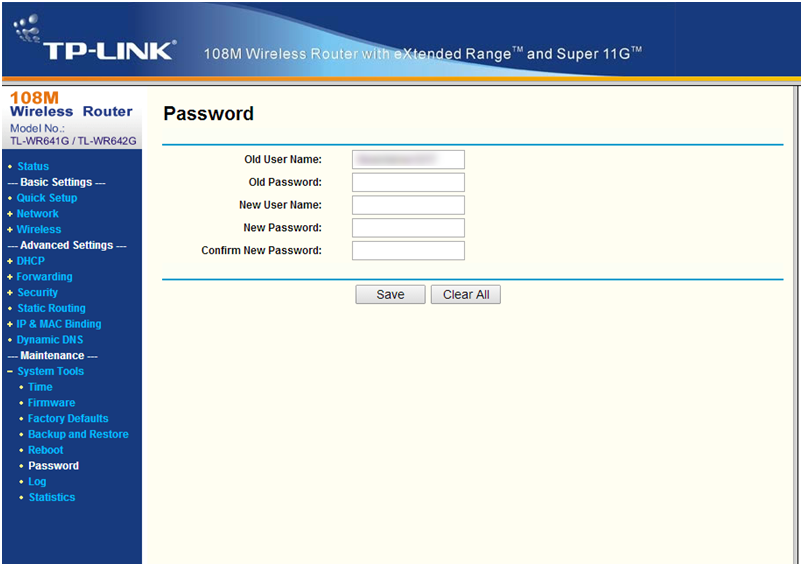
After clicking on “Password” there will be input boxes on the main screen which will ask you to enter the old password and as well as the new username and password that you want to set for your WiFi router. Just enter all of these information into the boxes provided and hit “Save”.
After doing so, the small Window which has the Username and Password input boxes will again appear and require you to enter the new username and password that you have just set so you can enter the web interface again. Just input these credentials and hit the “Log In” button once again to access the web interface for your WiFi router.
NOTE:
You need to be connected to the router via a LAN cable to make adjustments to it and access the web interface as well. You can also do it while connected to its wireless network but most experts still recommend a wired connection when making adjustments to a WiFi router. Most routers have LAN ports at the back which you can connect to using a LAN cable that you will also need to connect into your machines LAN port. You can’t access the web interface if you are not connected to the router via a LAN cable or its wireless network.
Finding the Router’s IP Address Using Command Prompt
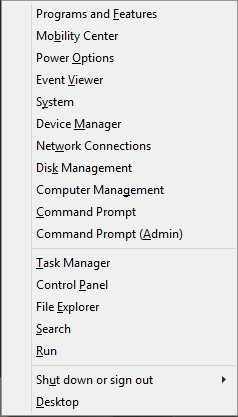
In other cases, you might want to make changes to a router that you are connected to but the default IP address has been changed by the administrator. To find out the router’s IP address, you will need to access the Command Prompt with administrator privileges. To do this, simply press the “Windows + X” keys and click on the “Command Prompt (Admin)” link from the menu that appears at the bottom-left corner of the screen.
After doing so, Command Prompt will open in a Window. From here, all you need to do is type the command that says “ipconfig” excluding the quotation marks then hit the “Enter” key.
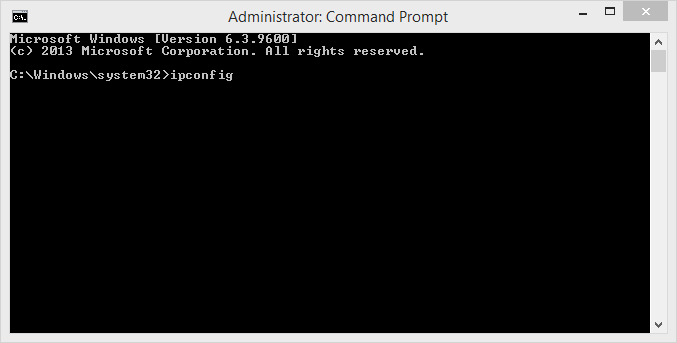
The command will then be executed and on the Command Prompt screen, all you need to do is search for the section that says “Wireless LAN Adapter” and under it, you will find the IP Address of the router labeled as “Default Gateway” as shown on the screenshot below. This IP address is what you will need to enter into your browser’s address box so you can access the web interface. This would be the first step though because you will still need to know the Username and Password before you can completely access the interface. You can try entering “admin” in both boxes and if you are lucky enough that the network administrator didn’t change it yet then you’ll be able to access the web interface but if not, you will need to ask the admin for these details.

That’s all there is for our first article on securing your WiFi network and working on the web interface of your router to change some aspects of it and make it more personalized. On our next tutorial, we will be learning how to change the SSID and as well as the network password and share some tips on how to create secure passwords that are almost impossible to crack so be sure to stay tuned with us here in windowstechies.loc to learn even more about the Windows operating system and some other related stuff!