Get More from Your Email
Nowadays, it can’t be denied that almost everyone already has a webmail address. PC users, both young and old especially those who signed up and joined any social network really have an email address since it is required for each one to have so that their social network account would be linked with it.
In Windows 8, an app called “Mail” takes everything into the next level. The “Mail” app really helps anyone to keep things organized by putting all your important communication in one easy to access location. In the past, checking your emails meant that you had to sign in to each email account that you have from a browser and sign out from it afterwards but with the mail app, you can add and see all your email accounts, no matter what platform it is (Yahoo Mail, Gmail, Hotmail etc).

The app also allows you too check your email, contacts and your calendar even if you are not connected to the Internet. If you use your email accounts in sending photos to friends or clients then you can do even more than that with the email app and you can even send high resolution images without crowding their inboxes because of the app’s perfect integration with OneDrive. Love Gmail’s conversation grouping? You don’t have to worry at all because you can still get it even when you link Gmail with the “Mail” application and you can get even more if you get the “Mail” desktop client which is offered free to all Windows users. To learn how you can maximize the usage of the “Mail” app, just read on towards the end of this tutorial.
Get the Mail Desktop Client
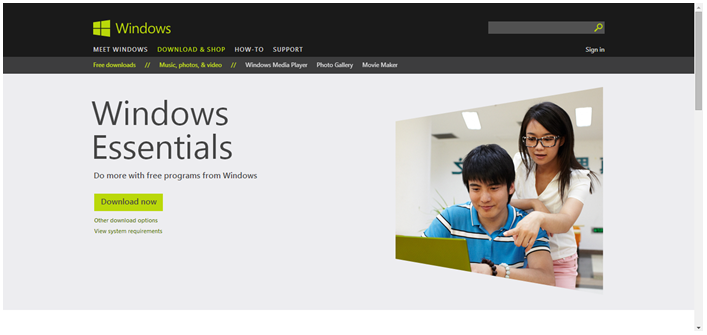
The very first thing that you need to do is of course to download and install the latest version of Windows Essentials. To go to the page where you can get the download, simply browse to “http://windows.microsoft.com/en-GB/windows-live/essentials-home” and click on the button that says “Download now”. Once the setup file gets downloaded, just run it and install all the Windows Essential components that you want to install on to your computer.
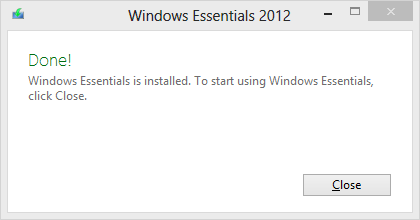
Once the installation process starts, you’ll see a Window that shows the overall progress and eventually when it completes, the small Window will notify you that the process is already done as shown on the screenshot below.
After you click the “Close” button, the service agreement Window will appear where you’ll need to click the button that says “Accept” then Windows Live Messenger will finally prepare everything for you to be able to use the services that are linked to it such as email, instant messaging etc.

Add an Account
The whole download includes a lot of free utilities that composes Windows Essentials such as “Mail”, “Messenger”, “Writer” and some other tools but you can just choose to install one component such as mail. To do this, simply select the right options when the setup starts. When installation is done, the wizard will tell you to restart your computer. Just do this and setup your email once your computer gets up and running again.
Get Familiar with Mail Servers
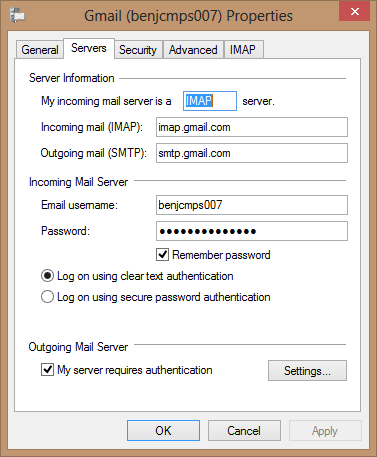
The “Mail” desktop client supports three types of email servers. Don’t worry, we’re not going to tackle each one of them in detail. All you need to learn is which one of the emails that you have uses a service for both the incoming and outgoing email. For instance, Gmail uses “imap.gmail.com” for its incoming emails and “smtp.gmail.com” for the outgoing ones. The simplest way of finding this out is by using Bing.
Change the Email View
When the “Mail” desktop client is up and running, you will see a set of options and settings on a “Ribbon” at the top of the Window. There are also some different tabs on top and if you click on the one that is labeled “View”, you will see an option that will help you change the view of each email that you have on your inbox. You don’t really have to stick with the default setting. If your computer screen is a bit small, the “Compact View” would be the best option to choose.

Send Some Photos
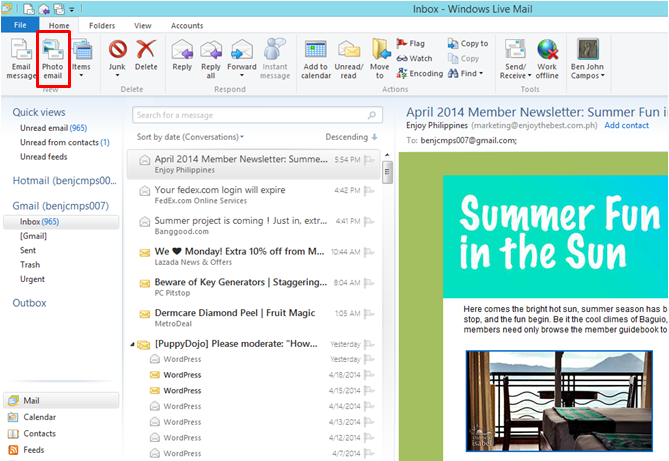
The Windows Live Mail client works perfectly with OneDrive and this will allow you to send large photos to whomever you wish without the problem of overloading their inboxes. To do this, simply click the “Home” tab from the options “Ribbon” on top then hit “Photo email”. After doing so, a small Window will appear labeled “Add photos”. This is time for you to start choosing the photos that you want to send and afterwards, simply hit open. The next step will then require you to enter the recipients and as well as a fitting subject for the photo that you’re going to send. You can also type even more details to it on the email body.
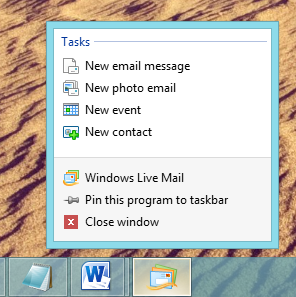
Use Some Quick Launch Options
While using Windows Live Mail, you will also find an icon on the taskbar that represents it. This serves a lot of purpose than what you’ve already been thinking right now. You can right-click on this icon and find some quick launch options on a small Window that appears such as typing a new email, preparing a new photo email, creating an event or even adding a new contact. Accessing these options from here is undoubtedly faster than accessing it from the main screen of the Windows Live Mail desktop client.
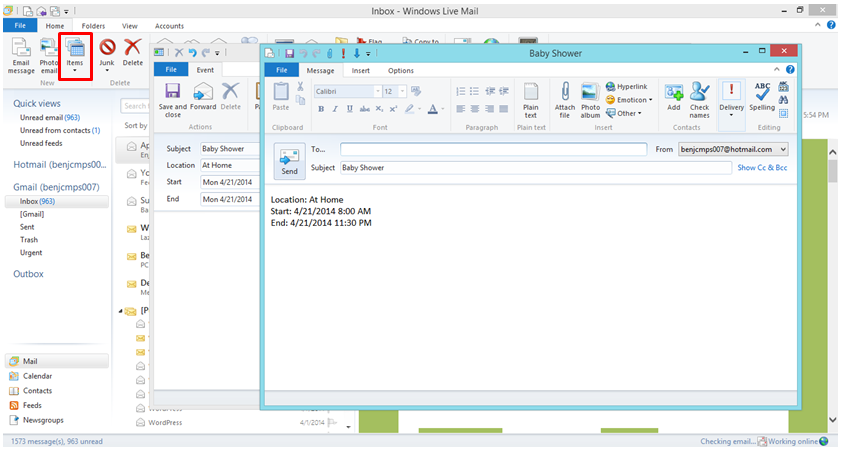
Create Your First Event
Creating an event will help you keep track of some activities that you or your group needs to accomplish or attend. There are two ways of doing this within the Windows Live Mail client but we will take the easier. First, while you are on the main screen, simply click on the “Home” tab and hit the “Items” option from the “Ribbon”. More options will then appear on a drop-down menu and from here, simply click on “Event”. Next, you’ll need to enter the details of the event then hit “Forward” from the options on the “Ribbon” at the top of the Window and start adding the email addresses of the people who need to receive it.
Add Another Email Account
Windows Live Mail allows you to add your other email accounts to it so you can easily check them in one place. To do this, simply click on the “Accounts” tab on top and then hit the option that says “Email” from the ribbon on top. After doing so, a new Window will appear which will ask you to enter the email address and the password of the email account that you want to link with the “Mail” desktop utility. Other options such as making the new email account as the default one and as well as manually configuring the email server for the account are also available with a corresponding tick box for each one of them.

If you want to take your email experience to the next level, you can also try using the modern-style “Mail” app which already built-in with your Windows 8 machine. Did you encounter problems while following the steps illustrated above? We’d like to be of help. Just submit your concerns to us by posting them as comments below and we’ll do our best to answer them at the soonest possible time.