How to Change or Customize Icons for Certain Drives in Windows 10
No matter what level of expertise you’ve already reached in terms of using your Windows computer, there will always come a time that you’ll feel bored of the regular icons appearing in different locations most commonly in the Windows/File Explorer section. Having the common icons for external and removable drives may result to being confused especially if you’ve already attached many different drives to your computer so in order to make certain ones easier to identify, you can rename them (as we’ve shown in our previous tutorial) or even change the icon that show up whenever it gets attached to your Windows machine. In this tutorial, we will learning how to change drive icons as well how to change its name in order to make it a lot easier and faster for your to identify certain drives that you want to access which then translates to improved productivity through quicker access to files. But how exactly is this trick done in Windows. Let’s find out the steps in doing this by starting to get acquainted with the “autorun.inf” file.
First Step: Find an Icon and Think of a Cool Name That Would be Assigned to the Drive
The very first thing that you need to do is to find an icon that you’d want to assign to the drive that you want to change icon for. Icons that can be used for certain items in your Windows computer system has a “.ico” extension excluding the quotation marks of course. Below is a list of websites where you can get icons that can be used in your Windows 10 computer. Just feel free to choose which ones you’d like to apply to your Windows computer. 1. Iconarchive.com IconArchive is one of the favorites by most Windows users. The website has almost 8000 or even more icon sets which are used by famous sites and companies such as PC World, Emerson, HP and many others. There are also some individual icons that you can download in case you only want a single icon for a certain drive.  Just select a category or type a certain keyword for the icon that you want to find and use and you’ll get a rich collection of well designed icons which are available for download right then and there! 2. DeviantArt.com If you want an even larger collection of graphics that you can use for your Windows 10 computer then deviantart.com is the place to look from. This website has over 33 million artists and contributors. You can download stuff like wallpapers and even icons (though not that much as other websites) but you an always check for some new stuff in it since they constantly bring in some new content that may suit your taste.
 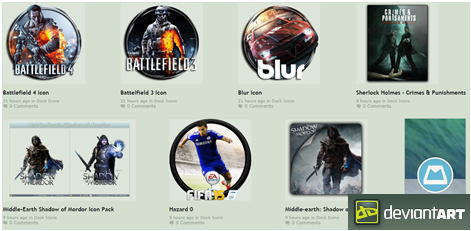 3. Dryicons.com Another website which provides professionally designed icon sets is called Dryicons.com. They offer licensed, regular and even free vectors and icons which can be used for websites, mobile apps and many others. Just look for a style, color or even a theme that you want to use and you’ll get it from the website instantly.
  4. Findicons.com If you want some formal looking icons which you can use for certain drives and other stuff in your computer then you can go to another great website called Findicons.com. Just type in keyword that is related to the icon that you want to find then hit the search button and download the icon that you wish to use for a certain stuff in your computer.
 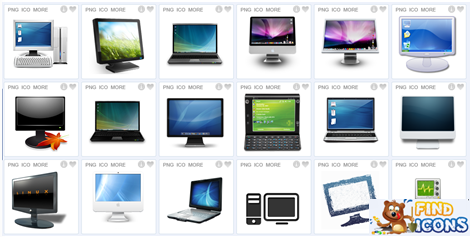 5. Iconmonstr.com If you want another website that stands out in terms of the type of icons that it provides then iconmonstr.com is the one that you need to visit. Then icons that are found in this website are mostly black and white. You can use them on the desktop or as graphic icons in a presentation if you want to leave great impression to your audience. The website also offers different formats such as .jpg, .svg, .jpg and many others which means that you need to convert them to .ico in order to use them as icons but don’t worry, conversion from one format to another is just free!
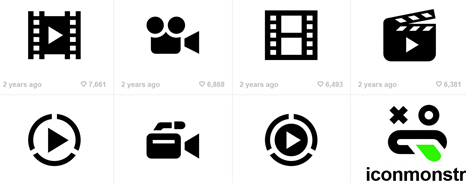
Second Step: Create autorun.inf File in the Removable Drives Root
The Autorun.inf text file is a component needed by the AutoRun and AutoPlay features in Windows whenever a removable or portable/external drive is attached to it. The autorun.inf file might look very simple but it has a great use because it contains the descriptions of the behavior of the drive in which it is found. For it to work, the file should be saved in the root directory of the removable drive or any other drive that is targeted to be tweaked. Now, let’s start by creating a text file and since we’re going to copy it later on to the root of the drive, you can just create it anywhere within your computer. You can create it on the Desktop screen for now to make it a lot easier to locate later on. 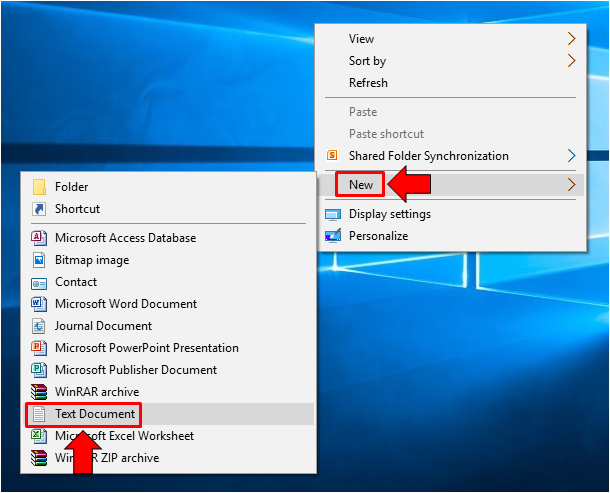 Once the text document is created, you will need to rename it to “autorun.inf” excluding the quotation marks. Doing this is very simple, simply right-click on the file itself and on the context menu that will appear, just click on “Rename”. The name of the text document will then be enclosed in an input box. Just delete its old name and type in “autorun.inf” then hit the “Enter” key to save the new name.
 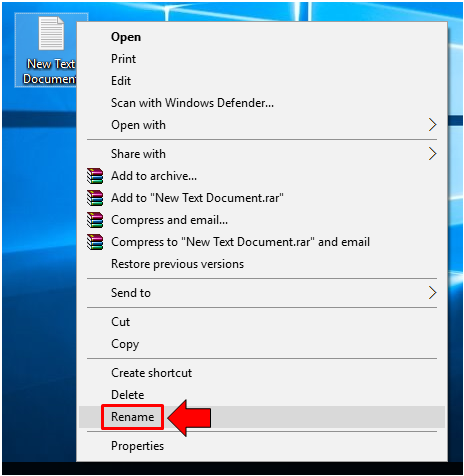 After changing the name of the text file, you will see a dialog box that asks you if you really want to change the file extension. From here, just hit on the button that says “Yes”.
 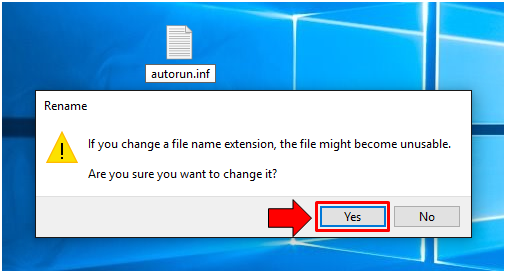 After hitting the “Yes” button, you should be able to notice that the icon for the text file will change and look like the one shown below. This is perfectly normal so you don’t need to worry about it being impossible to edit.
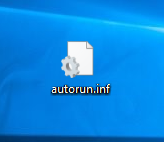
Third Step: Connect the Drive to Your Computer
Once you are done creating the “autorun.inf” text file, you will need to connect the drive that you want to make some tweaks on its icon for then launch File Explorer. Once you’re on Windows/File Explorer, just click on the “This PC” link that is found on the navigation pane at the left as highlighted on the screenshot below. 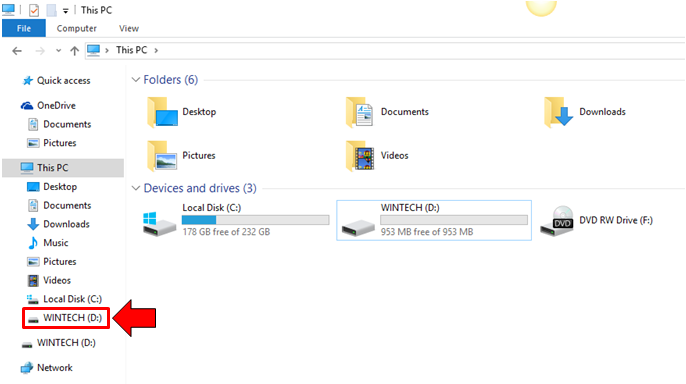 After hitting “This PC”, you will be able to see all the drives that are built-in or attached to your computer. From here, just click on the drive that you want to change icon and name for. Once the drive is open, you will need to copy the new icon and the autorun.inf file into its root (not in a folder or anything) as you can see on the screenshot below.
 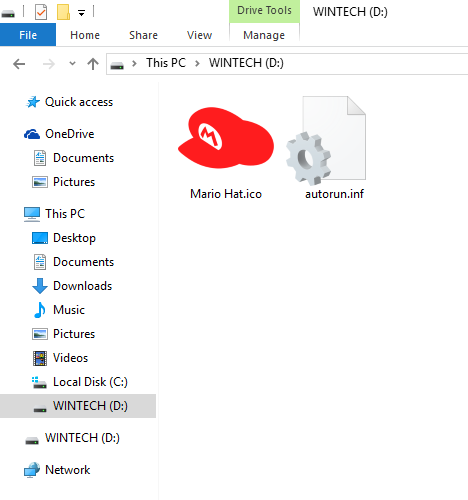 Now, once the icon and the autorun.inf file is copied into the root of the drive that you want to customize icon and name for, you will need to open the autorun.inf file and type in the following.
[Autorun] Icon=icon name Label=the new name of the drive
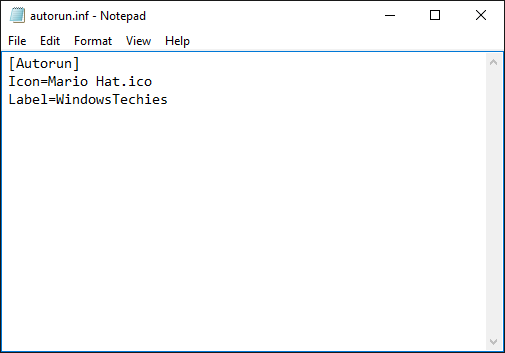
In the case of the sample that we’ve provided in this tutorial, we typed in the following into the autorun.inf text file after we opened it using Notepad.
[Autorun] Icon=Mario Hat.ico Label=WindowsTechies
The actual screenshot of the autorun.inf file to which we’ve typed in the text we’ve shown above are displayed on the screenshot below.
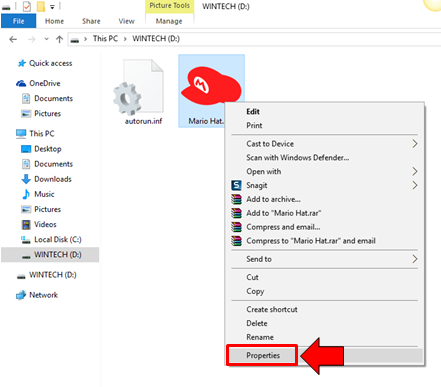
Once the text commands are entered into the autorun.inf text file, just hit the CTRL + S keys in order to save it. Lastly, in order to avoid accidentally deleting the stuff you just saved into the drive’s root. You’ll need to change the properties of each file (the icon file and the autorun.inf text file) so that they will be hidden. To do this, just right click on each of the file and hit the “Properties” option from the right-click menu that would appear.
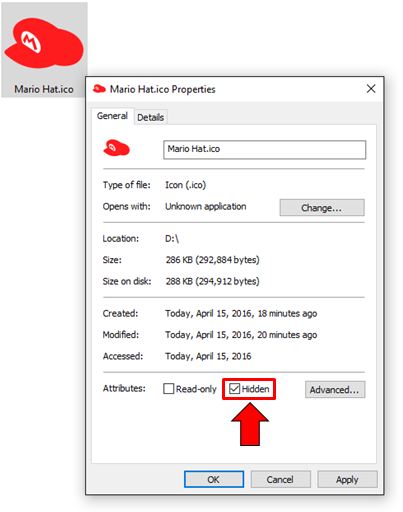
Now, on the small Properties Window that will appear, just click on the “Hidden” box found near the bottom as shown on the screenshot below. After doing so, just hit the “Apply” then “OK” buttons in order to save the changes. Remember to do it for both files so that they will be hidden.
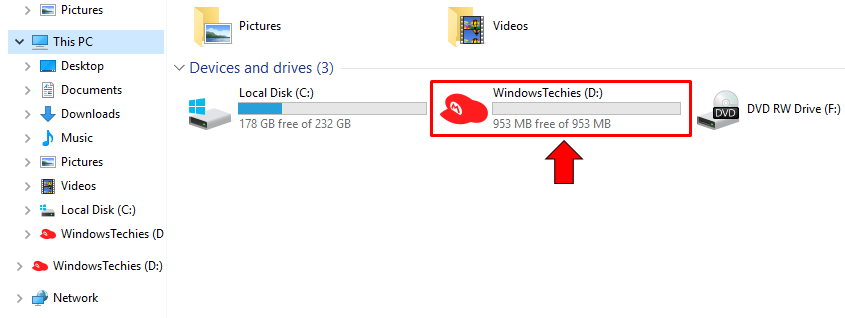
The files will then be hidden after you do this tweak. If you check the “This PC” section of the File Explorer Window once again, you’ll notice that the changes will not be applied yet. In order to see the result, you will first need to disconnect the drive then connect it again to your computer. After doing so, just head to the “This PC” section of the File Explorer Window once again and voila! You now have a customized icon and name for the drive as seen below.
New Icon and Name Means Faster Access!
As you can see, having a customized icon and name for a certain drive in your Windows 10 computer is really easy even when it is done the geeky way. There’s actually a much faster way in doing this which we will be showing in our next tutorial but for now, you can practice doing this magic to all your other removable drives so they will all look great whenever attacked to a Windows machine. Do you know of other icon resource websites which we can take some good icons from? Please feel free to get your voice heard and share you knowledge with your fellow readers by taking advantage of the comments section below.