Personalizing Windows 10’s Initial Appearance
Already got Windows 10 installed? This most anticipated Windows 10 version has really been making headlines in different technology and news websites these past months and finally, millions of users not have it in their computers after Microsoft started rolling out the Free Upgrade Offer last July 29.
But how does Windows 10 appear right after the upgrade? What does the Desktop screen look like? Well, if you’re one of those who’s already using this latest Windows edition in your computer then the Desktop screen that is shown on the screenshot below should look very much familiar to you!
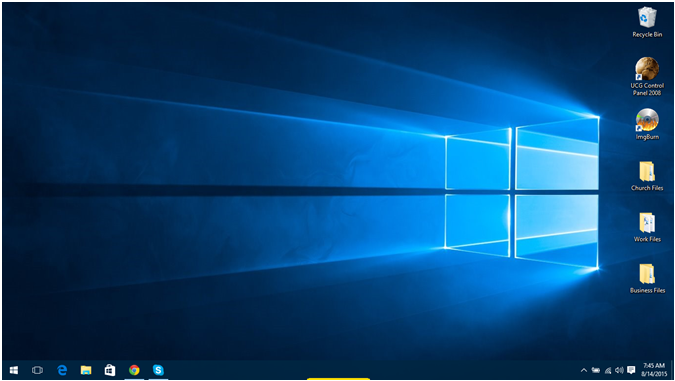
I really hate to admit it but the default Desktop background image of Windows 10 which displays right after the upgrade is completely installed looks like that of a pirated Windows operating system version as you can see on the screenshot above. But of course, if you signed in to your Microsoft account, it will change and follow the Desktop background of your Windows 8 or Windows 8.1 system.
So what can be done to change this default Desktop image background and as well as tweak the color that is applied to the Taskbar by default which, as you can see is all black? Tweaking the Desktop image background and even doing even more personalization adjustments are what we’re going to talk about in this tutorial so be sure to prepare your Windows 10 machine and follow the steps that we will be demonstrating below.
Changing the Desktop Background Image
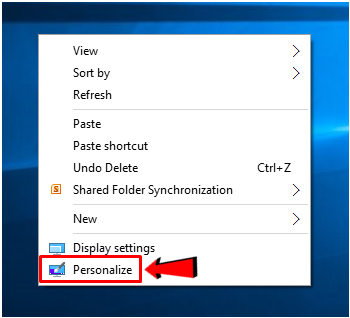
Just like its predecessors, Windows 10 still has plenty of features for customizing its looks that you’ll surely love! One of them is letting you choose a Desktop background image which can come from those that Windows 10 already has within it or something that is user-defined such your selfie picture, a picture of your pet or a beautiful photo of a place that you visited last summer. To do this, you will first need to right-click an empty space on the Desktop screen and after doing so, a right-click menu will appear where you will need to click on the option that says “Personalize”.
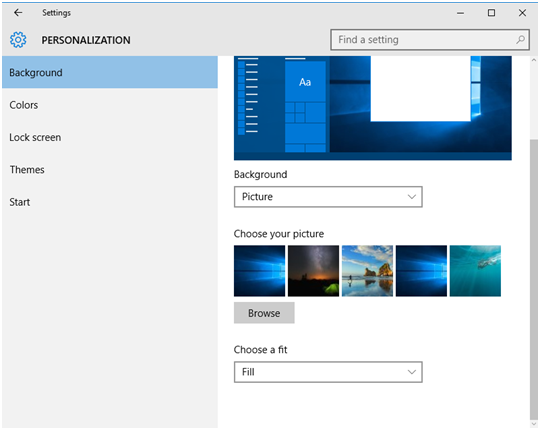
After doing so, the “Personalization” section of the modern settings screen will appear and from here, you should be able to see all available images that are included with Windows 10 for you to choose from.
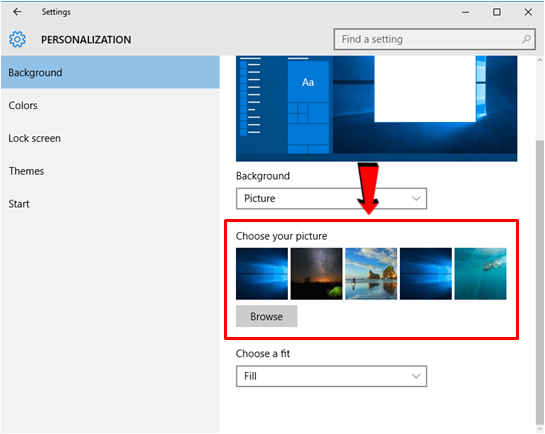
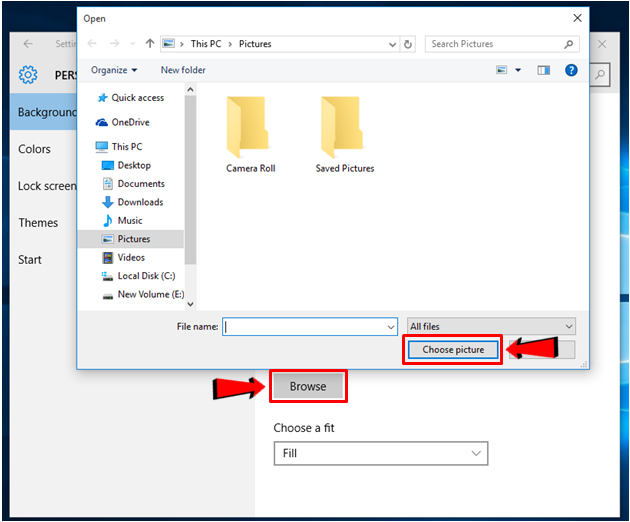
Now, if you don’t want to use any of the built-in images that are available in the modern Settings screen and you want to use a custom image that you own or you’ve downloaded from the Internet, all you need to do is click on the “Browse” button, locate the image, select it then hit the “Choose picture” button.
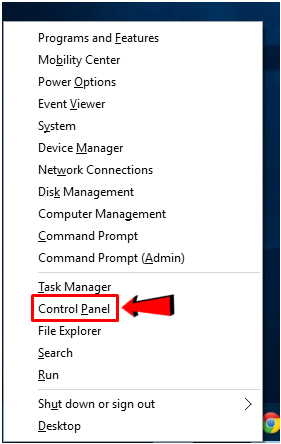
You can also do this tweak from the Control Panel Window of your Windows 10 computer. To do this, just press the “Windows + X” keys and after doing so, the WinX Menu will appear where you will need to click on “Control Panel” in order to launch the Control Panel Window.
Once the Control Panel Window opens, all you need to do is click on the link that is located under the “Appearance and Personalization” category as highlighted on the screenshot below.

After doing so, you’ll be able to open the “Personalization” Window and from here, you will see more tweaks that you can do to your computer’s Desktop screen appearance and since we are trying to change the Desktop background image, all you need to do is choose from the items that are located under the “Windows Default Themes” section as shown on the screenshot below.

The current theme that is applied on your Windows 10 computer is the first one which is labeled “Windows”. Choosing any of the other two which are available will give you access to different Desktop background images which automatically shuffles from one to the other according to your specified time duration.
Changing the Color of the Theme and the Taskbar
After selecting a more personalized Desktop image background, you might also want to change the color of the theme. Windows 10’s default theme is mostly black and its icons are outlined with white. This might look elegant to some but there would surely be others who would not be pleased by it. In fact, we’ve already been receiving comments from users who have just upgraded to Windows 10 about this default theme color and most are negative.
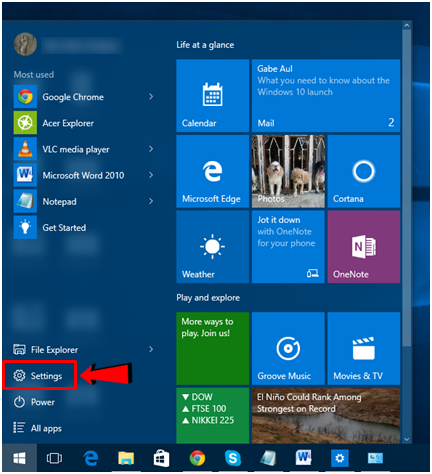
To change the color of the theme and the taskbar itself, all you need to do is click on the “Settings” shortcut that is found on the new “Start Menu” and after doing so, you’ll see the modern “Settings” screen open.
Once the modern “Settings” screen opens, you will need to click on the link that says “Personalization” and you’ll be able to enter another set of customization tweaks that you can do to the appearance of your newly upgraded Windows 10 machine.
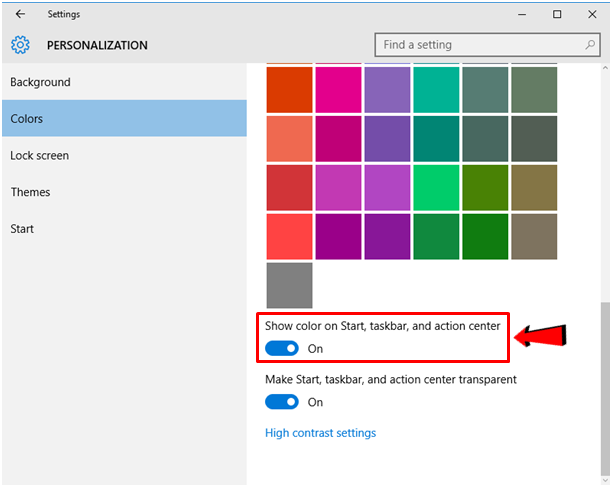
On the screen that follows, you will again see the available Desktop background images that are built-in with Windows 10 but that’s not what we’re going to focus on. What you’ll need to do on this screen is to click on the “Colors” link found on the navigation pane at the left side in order to access all available colors that you can apply to your computer’s overall theme.
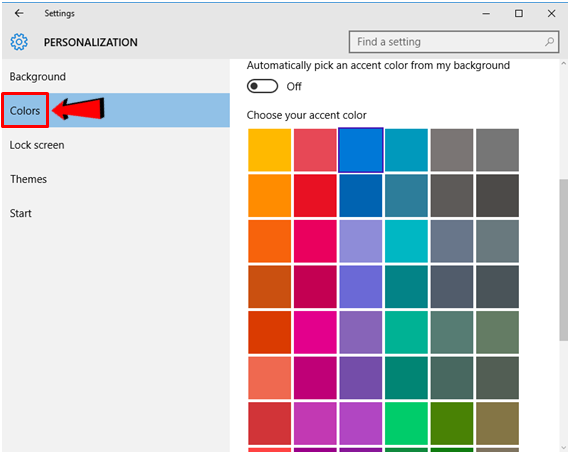
After choosing a color from the chart that is available on the screen, you will notice that the Start Screen and as well as the taskbar won’t change its color yet. This is because there is a setting which is also found on this screen that you need to turn on which says “Show color on Start, taskbar, and action center” as highlighted on the screenshot above. To apply your chosen color, simply flick the switch to the “On” position and the change will be applied instantly.
As you can see, changing the theme color isn’t hard at all but can be tricky if you’re used to the instant-apply changes that were available in Windows 8 and Windows 8.1 and as you can see, applying the color is just a flick of a single switch away.
Activating the Full Screen Start Menu
While the Start Menu has already been made a lot similar to how it used to look like in Windows 7, you can still make it full screen again in case you prefer that layout than the one that is set as default in Windows 10. To do this, you will again need to click on the “Settings” shortcut from the Start Menu as we have shown earlier then on the modern “Settings” screen, the same “Personalization” category needs to be clicked.
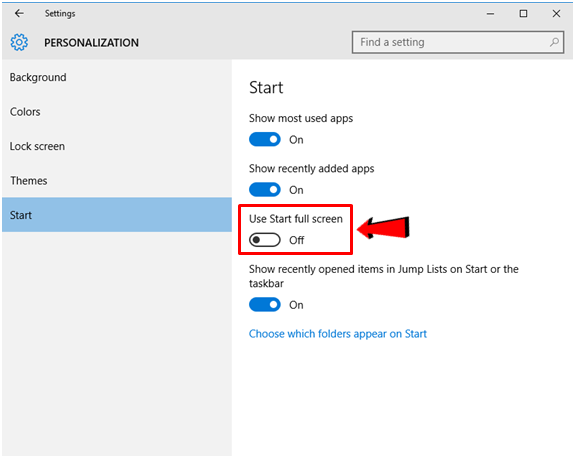
On the “Personalization” screen, simply click on the “Start” link that is found on the navigation pane at the left and after doing so, you’ll be able to access all available tweaks that you can do with the Start Menu and since we are trying to make the Start Menu become full screen once again, simply flick the “Use Start full screen” option to the on position.
After doing so, you can click on the Start Button or press on the Windows key and you should be able to see the full screen Start Menu which is also redesigned for more comfortable usage and navigation. To learn more about the newest innovations that were applied to the full screen Start Menu in Windows 10, be sure to watch out for our next tutorial that will touch on this topic in greater detail.
As you can see, personalizing some aspects in the new Windows 10 operating system version is really easy but we’ve only covered a few in this tutorial. We’ll be talking more about Windows 10 in our future articles so be sure to stay tuned-in only here on WindowsTechies.com.