Working with Files and Folders in the OneDrive App
If you’ve been using Windows for a long time, probably since its earliest versions got into existence, you surely can identify with the feeling of losing files due to different reasons which can be of a software or hardware origin. These problems has lead to the development of features such as backup and restore as well as other tools for keeping files safe from any problems that can happen abruptly which could cause its loss and when mobile devices which are equally vulnerable to errors and problems that can cause data loss also got into the market, the need for an even better app, program or tool for keeping files safe even raised higher. When Microsoft also got their own Windows-based smartphones and tablets, SkyDrive which was later named as OneDrive came into existence to make the software company get in track with its competitors.
OneDrive allows all your important files to be synced to all your Windows 8 or Windows 8.1-based devices so you won’t need to carry a separate portable storage device that contains them which is not just vulnerable to being lost physically but can also become a haven for viruses that spread through this type of media. Each brand new Windows 8.1 machine contains a desktop and as well as a modern app version of OneDrive which can be accessed in many different ways but in this tutorial, we will be focusing on the app version of this very useful tool which will help you save files to your online cloud storage even when you are using your smartphone or tablet whether it runs on Windows or not for as long as OneDrive is installed in it.
Accessing OneDrive’s Modern App Version in Windows 8.1
In our past tutorials, we’ve shown the steps in accessing the OneDrive folder from the desktop environment and discussed all the other secrets in using this free online storage to help users maximize its use. In this section for this tutorial, we will be discovering some steps in how OneDrive’s modern app version is accessed so you can start and try saving your important files in it so get your machine ready and follow the steps that I’ll be demonstrating below.
1. Accessing the OneDrive App Using the Search Feature
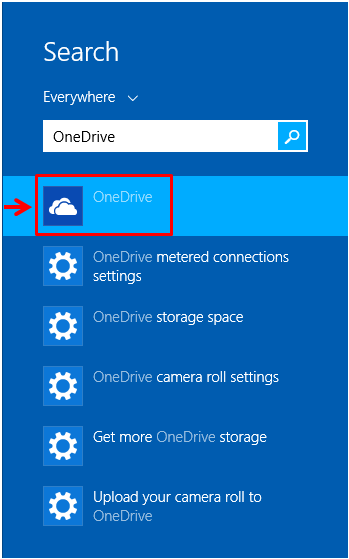
One way of accessing the modern app version of the OneDrive app is by using the search feature which is one of the built-in tools that has really seen a big improvement in Windows 8.1. To use Search, you can press on the Windows+S keys to summon the Search screen that will appear from the right edge. From this screen, simply enter the word “OneDrive” into the search input box that is provided.
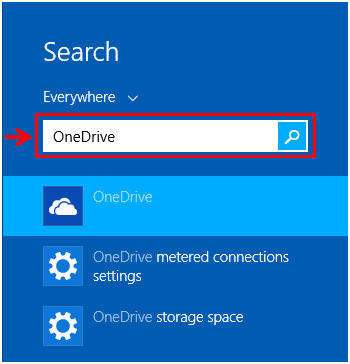
After entering the keyword into the search input box, you should see the search results appear just below the box itself and the first item should be the shortcut to the OneDrive app. Once you see it, all you need to do is click or tap on it so you can finally open the modern app version of Microsoft’s free online cloud storage service.
2. Accessing OneDrive from the Apps View Screen
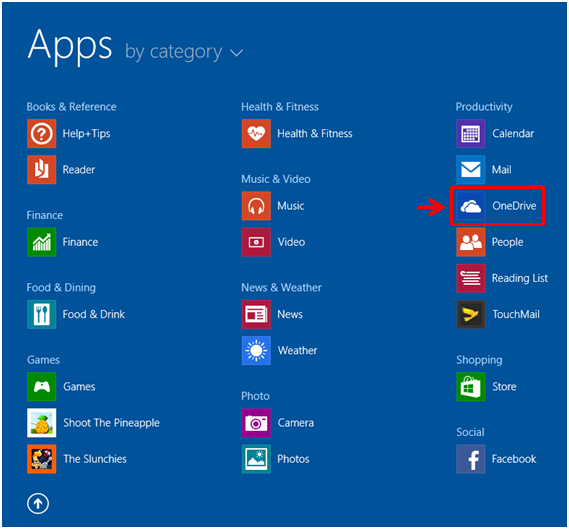
If you love everything that has to do with the older Windows editions such as Vista or Windows 7 especially the aspect that involves the Start Button and the Start Menu that it opens once it is clicked then Windows 8.1 is not for you. The Start Menu is nowhere to be found in this brand new operating system version and if you want to access shortcuts leading to the different apps, programs and system locations in your computer then you will need to access a section which is called the “Apps view” screen.
Getting to this section requires that you first go through the Start Screen by pressing the Windows key or clicking on the Start Button and once this screen opens, just move the mouse over it until a round button that contains and arrow down icon appears at the bottom-left portion of the screen.

After clicking or tapping the button, the Apps view screen will appear which contains a list of all built-in and installed apps as well as desktop programs, tools and system locations and they are categorized accordingly to make it easier for users to find some items that they are looking for. From the items that are listed on this section, just look for the shortcut that says “OneDrive” which also bears the logo of this online storage service by Microsoft. The screenshot below shows the OneDrive shortcut on the Apps View screen and the one in your Windows 8.1 computer should look very much the same as what’s highlighted in red below.
After clicking on the OneDrive shortcut which you were able to access using any of the two methods I have shown above, the OneDrive app should now open and show its contents. From here, you can see dark blue thumbnails which represents folders and all the other files that you have saved outside the folders in your OneDrive storage account.
Adding Files to the OneDrive App
Now that you learned how to access the OneDrive app shortcut and was able to open it, the next thing to learn is how you can work with files while the app is open. First, you’ll need to know how you can add a file to it. To start, you will need to right click an empty space on the OneDrive app’s main screen and after doing so, a grey bar will appear at the bottom which contains a set of options. From this bar, you will need to click on the option that says “Add files”.

On the screen that follows, you will see all available system folders and libraries where you can start browsing for the file/s that you want to add to OneDrive. You’ll notice that the screen defaults to “This PC” and if the file that you want to save to OneDrive not stored in this location, you can simply click on the arrow down icon at the right of the “This PC” label and the other locations where you can browse some files from will appear in a white options box as shown on the screenshot below.
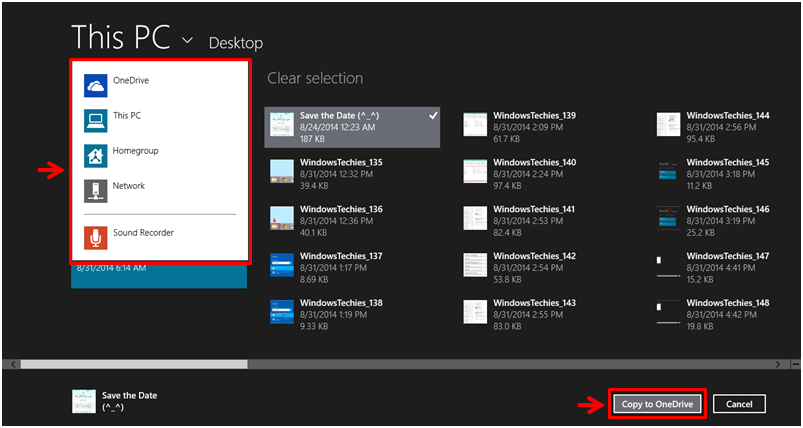
After the files that you want to store into OneDrive gets selected, all you need to do is click on the “Copy to OneDrive” button which is located at the bottom-left portion of the screen.
Adding New Folders
Another thing that you can do while using the OneDrive app is adding folders to it. To do this, you will again need to right-click on any empty space in OneDrive’s main screen and look for an option that says “New folder” which is located on the grey bar that appears at the bottom.
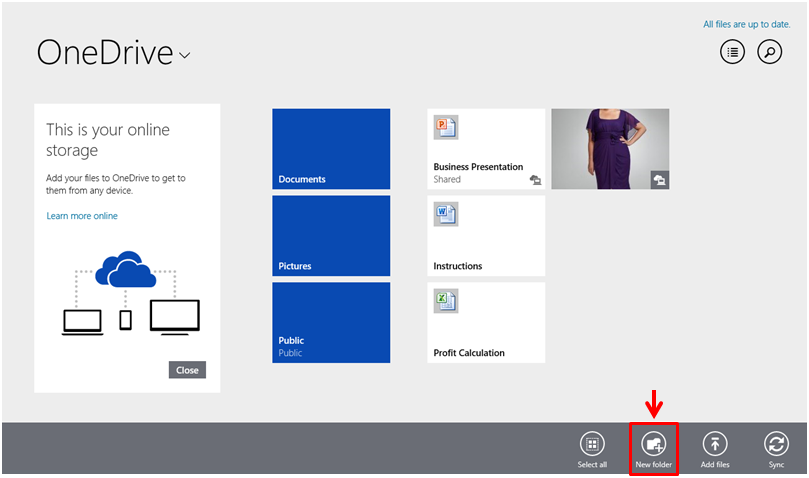
After doing so, you will see an input box that asks you to enter the name which you want to assign to the new folder that you want to create in the OneDrive app. Just enter your desired folder name then hit the “Create” button afterwards. The folder will then appear automatically on the main screen of the OneDrive app and will automatically be synced to your online storage so that it will appear in all your other devices where you have access to OneDrive.

As you can see, working with files and folders in the OneDrive app is a lot simpler than doing it on the OneDrive folder which is found in the desktop environment. Take time to move all your crucial files to your free OneDrive online storage so you can keep them safe from being lost due to unavoidable problems that can occur to your computer at any time.